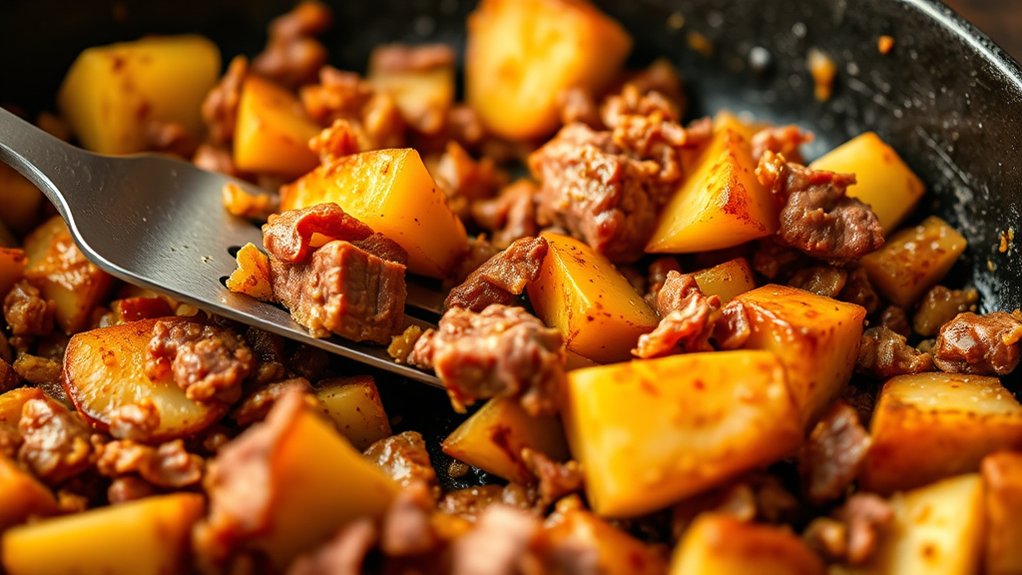
How to Cook Canned Corned Beef Hash Crispy in 10 Easy Steps
Cooking canned corned beef hash to crispy perfection can be tricky, especially if you’re aiming for that satisfying crunch. Many people struggle with getting the right texture without burning or ending up with soggy hash. You’re not alone—perfecting this takeout favorite takes a little patience and some handy tips.
To make canned corned beef hash crispy, start by draining excess liquid and breaking up large chunks. Use a heavy skillet preheated over medium-high heat, spreading the hash in an even layer.
Let it cook undisturbed until the bottom is golden, then gently flip or press down for more browning. Adjust heat as needed, add seasonings or vegetables for flavor, and cook each side for about 5-7 minutes.
Keep practice in mind—more tips follow if you continue exploring.
Key Takeaways
- Preheat a heavy skillet over medium-high heat. Spread the hash in a single, even layer.
- Pat the hash dry to remove excess moisture. This helps it crisp up instead of steaming.
- Don’t overcrowd the pan. If needed, cook in batches to keep the heat high and get that crispy texture.
- Let the hash cook undisturbed for 5-7 minutes until you see a golden crust forming.
- Then, flip it over and press down gently.
- Cook each side for about 5-7 minutes until it’s nice and crispy.
- Keep an eye on it so it doesn’t burn, but don’t be tempted to stir or move it around too much.
- Once crispy, remove from the skillet and serve hot for the best crunch.
How to Prepare Your Corned Beef Hash for Cooking
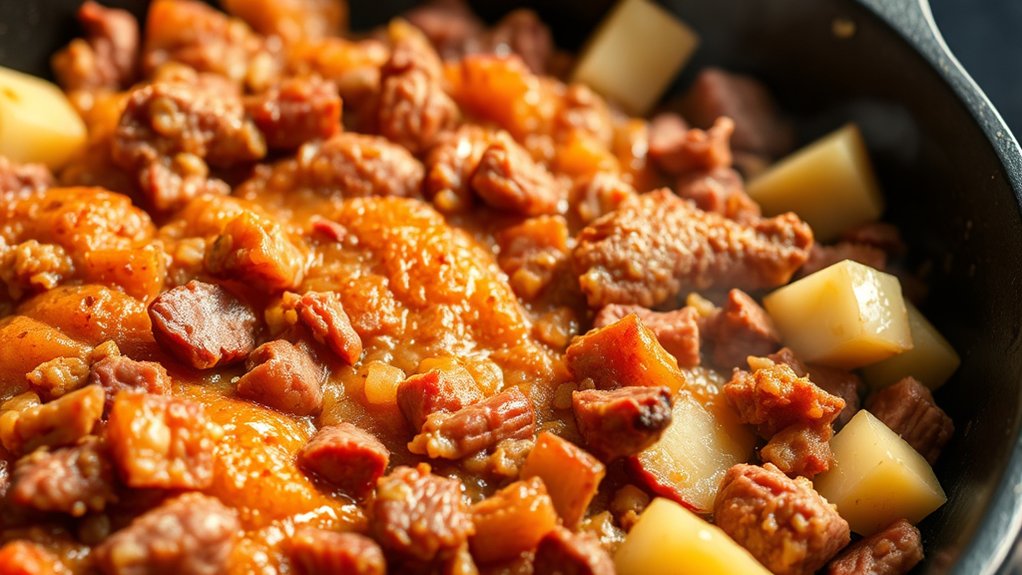
Before you start cooking your canned corned beef hash, it’s important to prepare it properly. First, open the can and carefully scoop out the contents into a bowl. Use a fork to break up any large chunks, spreading the beef evenly.
Open the can, scoop out the beef, and break up chunks for even cooking and better flavor.
If the hash seems too greasy, drain excess liquid or pat it dry with paper towels. For a more uniform texture, you can mix in a little chopped onion, bell pepper, or seasonings of your choice.
This step helps the hash cook evenly and develop better flavor. Make sure your ingredients are ready before you start cooking so you can focus on achieving that perfect crispy texture.
Proper preparation sets the foundation for a delicious, evenly cooked hash.
Choosing the Best Pan for Crispy Hash
Choosing the right pan can make all the difference when aiming for crispy corned beef hash. You’ll want a heavy-bottomed skillet, like cast iron or stainless steel, to guarantee even heat distribution.
Non-stick pans are convenient but may not develop that sought-after crispy crust; they can also make it harder to get a good sear. A cast iron skillet is ideal because it retains heat well, allowing the hash to crisp up perfectly without sticking.
Be certain your pan is preheated before adding the hash. This helps form a golden crust quickly. Avoid overcrowding the pan, as this can cause steaming instead of crisping.
With the right pan and proper heat, you’ll achieve that delicious, crispy exterior that makes your hash irresistible.
Seasoning Tips for Flavorful Corned Beef Hash
To boost the savory richness of your corned beef hash, seasoning is essential. Start with simple ingredients like black pepper and a pinch of salt to enhance the natural flavors.
For a deeper, more complex taste, try adding garlic powder or onion powder. A dash of smoked paprika adds a subtle smoky note that pairs perfectly with the beef.
If you like a bit of heat, sprinkle in red pepper flakes or cayenne pepper carefully. Fresh herbs like chopped parsley or chives can brighten the dish just before serving.
For a tangy twist, a splash of Worcestershire sauce or a squeeze of lemon juice works great. Remember to season gradually and taste as you go to find the perfect balance.
How to Properly Heat and Cook the Hash for Crispy Results
To get your corned beef hash crispy, start with a hot pan to sear it quickly.
Make sure not to overcrowd the pan so the heat stays high and the hash crisps evenly.
Press down gently on the hash to help it brown and develop that perfect crunch.
Use a Hot Pan
Preheating your pan is key to getting that perfect crispy exterior on your corned beef hash. When the pan is hot, it quickly sears the hash, forming a nice golden crust.
Turn your stove to medium-high and let the pan heat up for a few minutes. To check if it’s ready, flick a few drops of water onto the surface. If they dance and evaporate right away, your pan is good to go.
Using a hot pan helps the hash crisp up quickly without sticking. Once it’s hot, add a small amount of oil or butter to coat the surface evenly.
This high heat will give you that crispy texture you want without overcooking the inside.
Don’t Overcrowd the Pan
Once your pan is hot and ready, avoid overcrowding it with too much hash at once. Adding too much at once drops the pan’s temperature, causing the hash to steam instead of crisp up. This results in soggy, unevenly cooked pieces. To get that perfect crispy texture, cook the hash in batches if needed.
Spread it out evenly in a single layer, making sure each piece touches the hot surface. Resist the urge to stir immediately; let the bottom develop a golden crust before flipping or stirring. Overcrowding also makes it harder to control heat distribution, leading to uneven cooking.
Keeping the pan manageable ensures your hash crisps up evenly and gets that desirable crunchy exterior.
Pat Hash for Crispiness
After your pan is hot and the hash is spread evenly, gently pat the top with a spatula or a clean cloth. This helps flatten the hash, making sure it cooks evenly and develops a crispy crust.
Applying light pressure encourages contact between the hash and the pan, which is key for crispiness. Don’t press too hard, or you might squish the ingredients and make the hash soggy.
Just firm it up slightly to promote even browning. Once you’ve patted the surface, let it cook undisturbed for several minutes. This allows the bottom layer to crisp up properly.
Repeat the process if needed, especially if you’re cooking in batches. Patting the hash ensures a consistent, crispy texture with a satisfying crunch.
How to Flip Hash Without Breaking It
To flip your hash without breaking it, use a wide spatula to support a larger surface area.
Wait until it’s golden and crispy on the bottom before flipping.
Then, gently lift and turn the hash to keep it intact.
This way, you’ll achieve a perfect flip without damaging the crispy layer.
Use Wide Spatula
Using a wide spatula is key to flipping your hash without breaking it apart. This tool gives you plenty of surface area, so you have better control and support.
When you’re ready to flip, slide the spatula gently underneath the hash, making sure to lift it evenly. The broad surface helps distribute pressure and reduces the risk of breaking or crumbling the crispy bits.
Keep the spatula steady as you lift, using smooth, confident motions. If the hash sticks, give it a moment to loosen before trying again.
Using a wide spatula also lets you flip larger sections at once, saving you time and effort. With this approach, you’ll keep your crispy hash intact, making each flip smooth and mess-free.
Gentle Flipping Technique
Gently flipping your hash helps keep it intact and crispy. To do this effectively, use a wide spatula and a steady hand. Slide the spatula under the hash, lifting carefully without tearing it apart.
Once lifted, rotate or flip the hash smoothly, avoiding rapid or forceful motions. This technique prevents breaking the crust and keeps that golden, crispy exterior.
Patience is key—wait until the bottom is golden before flipping. Here’s a quick comparison to keep in mind:
| Tip | Benefit |
|---|---|
| Use a wide spatula | Supports the entire piece, preventing breakage |
| Lift slowly and steadily | Keeps the crust intact and crispy |
| Wait for a golden crust | Ensures easy flipping and good texture |
| Flip gently | Prevents breaking the hash |
| Practice patience | Achieves perfect, crispy results |
Wait for Proper Browning
Waiting for the right moment to flip your hash is key to getting that perfect crispy crust without breaking it apart.
Look for signs of proper browning, like a deep golden color and a firm texture on the bottom. If it still looks pale or soft, give it more time.
You want the heat to create a caramelized crust that holds its shape when flipped. Gently lift an edge with a spatula to check; it should be crispy and well-browned.
Rushing the flip can cause the hash to crumble or stick, so patience is important. Once you’re sure the crust is ready, carefully slide a spatula underneath and flip in one smooth motion.
Patience guarantees a crispy, intact hash that’s perfect for serving.
How Long to Cook for That Perfect Crunch
To achieve that perfect crunch, cook the canned corned beef hash for about 5 to 7 minutes per side over medium heat. Keep an eye on the edges and don’t rush flipping too early.
Wait until the first side develops a deep golden-brown crust before carefully flipping it to cook the other side. Cooking time can vary depending on how thick the layer is and your stove’s heat, but generally, 5 to 7 minutes per side works well.
If you want it extra crispy, just extend each side by a minute or two. Patience is key—letting the hash crisp up gradually helps prevent burning and gives you that satisfying crunch.
Once both sides are evenly golden, your hash is ready to serve with that irresistible crispy texture.
Controlling Heat for Even Browning and Crispiness
Controlling heat is essential for getting that perfect brown and crispy crust on your corned beef hash. Keep the stove at medium to medium-high heat, but avoid going too high, which can burn the outside before the inside crisps up.
Make sure the skillet is thoroughly heated before adding the hash. This helps it cook evenly. Once you add the hash, try not to stir constantly. Let it sit undisturbed for several minutes to develop a nice crust.
Ensure the skillet is hot before adding hash and avoid stirring to develop a perfect crust.
If the heat is too low, the hash won’t crisp up properly. Adjust the heat as needed. If you see uneven browning, rotate the pan or turn down the heat slightly to prevent hotspots.
Using consistent, controlled heat will ensure your hash crisps evenly and gets that perfect golden-brown, crispy exterior.
Adding Vegetables and Extras for Better Flavor and Texture
Adding vegetables and extras can really boost the flavor and texture of your corned beef hash. Fresh or frozen veggies like bell peppers, onions, and peas add sweetness and crunch, balancing out the savory richness.
You can also toss in extras like grated cheese, hot sauce, or chopped herbs to lift the dish. These small additions make a big difference in taste and presentation.
Here’s a quick guide:
| Ingredient | Benefits | Tips |
|---|---|---|
| Bell Peppers | Adds sweetness and color | Slice thin for even cooking |
| Onions | Amplifies savory flavor | Caramelize for extra richness |
| Peas | Provides a burst of sweetness | Add near the end to keep texture |
Adding these ingredients creates a more vibrant, flavorful, and satisfying hash.
Troubleshooting Common Issues When Making Hash Crispy
If your hash isn’t browning evenly or staying crispy, try adjusting your heat or flipping it more often.
Excess oil can make your hash greasy and heavy, so consider draining some before cooking or using less oil.
When your hash sticks to the pan, using a non-stick skillet or adding a little oil before flipping can help prevent sticking and make it crunchier.
Uneven Browning Challenges
Uneven browning is a common issue when making crispy hash, but it can often be traced back to uneven heat distribution or inconsistent cooking techniques. If some parts of the hash brown faster than others, try turning down the heat to medium instead of high to get a more even temperature.
Don’t overcrowd the pan, as this can cause the temperature to drop and lead to uneven cooking. Use a wide, flat spatula to press the hash gently, encouraging it to make uniform contact with the pan.
Be careful when flipping or stirring the hash so you don’t disturb the crust unevenly. Giving the pan a quick preheat before adding the hash helps distribute heat more evenly.
Consistent, gentle handling and proper heat control are key to getting evenly browned, crispy hash.
Excess Oil Problems
One common issue when making hash crispy is excess oil, which can leave your hash soggy instead of crisp. To fix this, start by draining any liquid from the canned corned beef before cooking. Use a paper towel to pat the meat dry and remove surface moisture that can cause splattering and excess oil.
When frying, don’t add too much oil—just enough to coat the pan lightly. If you notice excess oil accumulating, carefully tilt the pan and spoon out the surplus. Cook over medium heat to help the oil render slowly and allow the hash to crisp up evenly.
Avoid pressing down on the hash too hard, as this can push out oil and create a soggy texture.
Hash Sticking to Pan
To prevent your hash from sticking to the pan, make sure the cooking surface is ready before adding the mixture. Start by heating the pan over medium heat and adding a thin layer of oil or butter. Let it warm up all the way; a hot surface helps create a natural non-stick barrier.
Avoid overcrowding the pan, as this can cause sticking and uneven cooking. Once the oil is shimmering, spread the hash evenly and press it down gently. Resist the urge to move or flip it too soon, since this can cause sticking and breaking.
When the bottom turns golden brown and crispy, it’s easier to flip or turn without sticking. Proper preparation and patience will make sure your hash releases easily and crisps up beautifully.
Serving Ideas to Enjoy Your Crispy Corned Beef Hash
There are countless ways to enjoy your crispy corned beef hash, whether as a hearty breakfast or a satisfying dinner. To make your meal even better, try these serving ideas:
Top it with a fried egg, with the runny yolk adding richness and flavor. Serve it alongside toasted bread or a crusty roll to scoop up every bite.
Add a side of sautéed vegetables or fresh salad for a balanced, colorful plate. You can also sprinkle chopped herbs like parsley for a fresh touch or melt cheese on top for gooey goodness.
For dinner, consider serving it with grilled tomatoes or baked beans. These ideas turn your crispy hash into a versatile, crave-worthy meal any time of day.
Frequently Asked Questions
Can I Make Crispy Corned Beef Hash in the Oven Instead of on the Stove?
Yes, you can make crispy corned beef hash in the oven. Preheat your oven to 400°F, spread the hash evenly on a baking sheet, and bake for about 20-25 minutes.
For extra crispiness, flip or stir the hash halfway through. Keep an eye on it to prevent burning.
This method gives you a crispy texture without needing to cook on the stovetop, making cleanup easier.
What Are the Best Toppings to Complement Crispy Corned Beef Hash?
You’ll love the explosion of flavors with toppings like a perfectly runny fried egg, sharp cheddar, and tangy pickles, transforming your crispy hash into a breakfast legend.
Add a splash of hot sauce or a dollop of sour cream for extra zest.
These toppings aren’t just improvements; they’re the secret to elevating your dish into a mouthwatering masterpiece that keeps everyone coming back for more.
How Do I Store Leftover Corned Beef Hash to Maintain Crispiness?
To keep your leftover corned beef hash crispy, transfer it to an airtight container and let it cool completely before sealing. Store it in the refrigerator for up to two days.
When reheating, avoid microwaving. Instead, reheat it in a skillet over medium heat, pressing down slightly to re-crisp the edges.
This method helps maintain its texture and flavor, making sure it tastes just as good as when freshly cooked.
Can I Use Fresh Corned Beef Instead of Canned for Crispy Hash?
Yes, you can use fresh corned beef instead of canned for crispy hash. Start by chopping the cooked corned beef into small pieces, then heat a skillet with some oil.
Spread the beef evenly and press it down. Cook over medium-high heat until the bottom is golden and crispy, then flip and crisp the other side.
Using fresh corned beef gives your hash a richer flavor and a satisfying texture.
What Are Some Alternative Oils for Achieving Extra Crispiness?
You can use oils like vegetable, canola, or peanut oil for extra crispiness. These oils have high smoke points, helping the hash crisp up nicely without burning.
For even better results, try adding a bit of clarified butter or lard, which adds flavor and creates a crunchier texture. Just make sure your pan is hot before adding the hash to achieve that perfect crispy exterior.
Conclusion
Now that you’ve mastered each step, your corned beef hash will turn out as crispy as a golden sunrise. Think of it as crafting a perfect symphony—every element, from seasoning to heat, plays an essential role in creating harmony on your plate.
With a little patience and attention, you’ll serve up a breakfast masterpiece that’s both satisfying and irresistible. So go ahead, enjoy the crispy goodness and start your day on a delicious note!
Making crispy canned corned beef hash is all about the right technique and care. Follow these steps, and you’ll have a breakfast that’s crispy, flavorful, and totally addictive.