7 Simple Steps to Sharpen Kitchen Knives
Many home cooks find it frustrating when their kitchen knives just won’t cut like they used to. If you’re tired of struggling with dull blades, you’re not alone—sharpening knives can seem complicated at first.
But with a few simple steps, you can keep your kitchen knives razor-sharp and ready to handle any task.
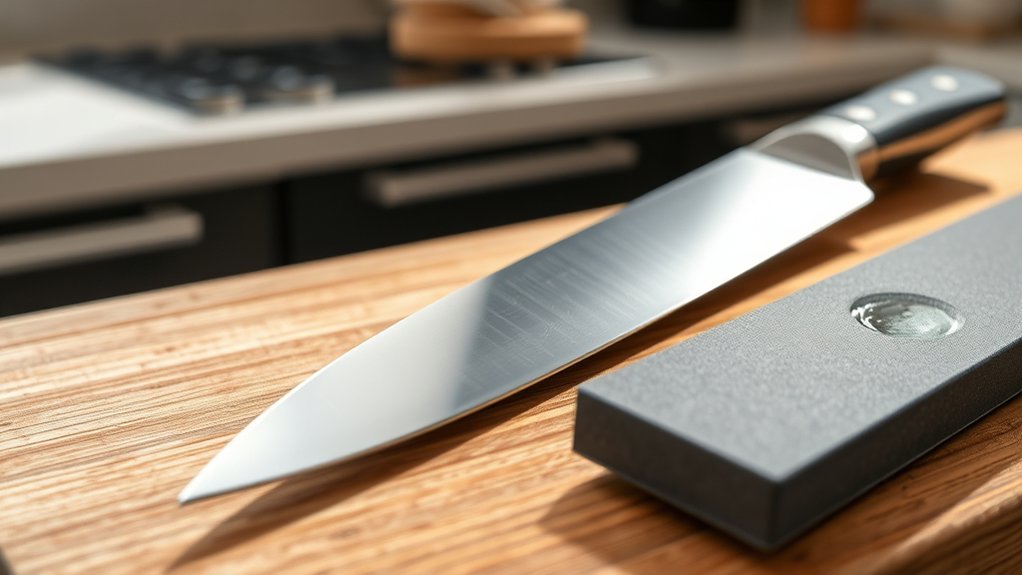
To sharpen your kitchen knives in 7 simple steps, start by gathering your tools, like a whetstone or honing steel, and set up a stable workspace with good lighting.
Soak the whetstone if using one, then hold your knife at a 20-degree angle and slide it across the stone from heel to tip, repeating several times.
Use the honing steel regularly to maintain sharpness, and know when to seek professional help.
Keep mastering these steps to boost your knife skills.
Key Takeaways
- Gather your sharpening tools, like a whetstone or honing rod, and set up a clean, flat workspace.
- If you’re using a water stone, soak it in water for about 10-15 minutes first.
- Hold the knife at roughly a 20-degree angle and slide it across the stone from the heel to the tip.
- Do this 5-10 times on each side, keeping the pressure and angle steady.
- Once you’re done, clean and dry the blade.
- Take a moment to inspect it to see how sharp it is.
- Remember to hone your knife regularly to keep it sharp between full sharpenings.
Why a Sharp Knife Makes Cooking Safer and Easier
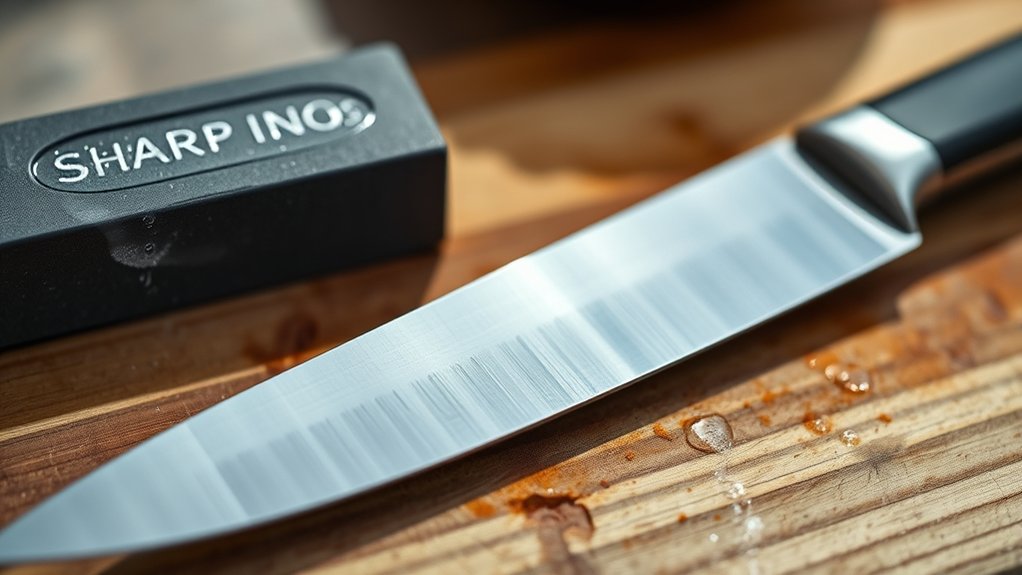
A sharp knife makes cooking safer and easier in the kitchen. When your knife is sharp, you can cut through ingredients smoothly without needing to push hard, which lowers the chance of slips and accidents.
A sharp knife ensures safer, easier, and more precise cooking with less effort and fewer accidents.
Dull blades require more force, often causing the knife to slip or slide off the surface. This increases the risk of injury, making your time in the kitchen less safe.
Plus, a sharp knife gives you better control. It allows for precise cuts and reduces the chance of uneven or accidental slices. This makes preparing food quicker and more enjoyable.
A sharp knife also prevents food from tearing or crushing. As a result, your dishes look better and cook more evenly.
Understanding Your Options: Sharpening Methods and Tools
As for sharpening your kitchen knives, you have several options to choose from, each with its own advantages and best uses. Manual sharpening tools like whetstones and honing rods require some skill but give you precise control and a very sharp edge.
Electric sharpeners are quick and easy, making them great for regular maintenance. However, they might remove more metal than necessary if you’re not careful.
Pull-through sharpeners are convenient and friendly for beginners, featuring preset angles to simplify the process. Each method suits different needs: whetstones for professional results, electric sharpeners for convenience, and pull-throughs for quick touch-ups.
Understanding these options helps you pick the right tool to maintain your knives effectively and safely.
Gather Your Knife Sharpening Tools and Set Up Your Workspace
Gather your knife sharpening tools and set up your workspace.
Start by choosing the right tools for what you need, like honing rods, sharpening stones, or electric sharpeners.
Next, clear and organize your area to ensure safety and make the process smoother.
Finally, gather any safety gear like gloves or eye protection to keep yourself safe while sharpening.
Choose Your Sharpening Tools
Gathering the right sharpening tools is essential before you begin, so take time to select high-quality items suited for your knife. You’ll want a sharpening stone, honing rod, or a reliable electric sharpener—pick the one that matches your skill level and knife type.
Look for a sharpening stone with multiple grit levels, like coarse and fine, to handle different sharpening needs. Choose a honing rod if you want quick maintenance between sharpenings.
Make certain your tools are clean and in good condition. Check for safety features, comfortable grips, and proper size to handle your knives safely. Having the right tools ready guarantees a smooth sharpening process, reduces mistakes, and protects your knives from unnecessary damage.
Clear and Organize Space
Creating a clean, organized workspace is key for a safe and efficient knife sharpening process. Start by gathering all your sharpening tools—whetstones, honing rods, or electric sharpeners—and lay them out in a designated spot.
Clear the surface of clutter, removing anything that could get in the way or cause accidents. Use a stable, flat surface to set up, and make sure it’s well-lit so you can see clearly.
Keep water, cloths, and cleaning supplies nearby for quick access. Organize your tools in a logical order, from prep to finish.
A tidy space not only reduces hazards but also helps you stay focused and work smoothly. This makes the sharpening process safer and more efficient.
Prepare Safety Equipment
Before you start sharpening, make sure you have all your tools and safety gear ready. Grab your sharpening stones or rods, a damp cloth, and any lubricants your tools need.
Wear cut-resistant gloves if you can, and keep a first aid kit nearby just in case. Set up your workspace on a stable, flat surface that’s free of distractions.
Good lighting is key so you can see what you’re doing clearly. Keep your sharpening tools organized and within easy reach to avoid fumbling.
Check that your stones are clean and prepared properly. Clearing clutter from the area helps prevent accidents.
Getting your safety gear and workspace ready before you start makes the whole process smoother and safer. Staying organized and cautious helps prevent injuries and keeps things efficient.
How to Sharpen Your Knife With a Whetstone: a Step-By-Step Guide
To sharpen your knife with a whetstone, start by soaking the stone in water for about 10 to 15 minutes. Once it’s ready, place the stone on a non-slip surface to keep it stable.
Hold your knife at a 20-degree angle against the stone. To sharpen, glide the blade from the heel to the tip in a smooth, controlled motion.
Repeat this process 5-10 times on one side, applying consistent pressure. Then flip the knife and do the same on the other side for even sharpening.
Make sure each stroke covers the entire length of the blade and keep the angle steady. Check the edge regularly and repeat as needed until you get a sharp, fine edge.
How to Use a Honing Steel to Keep Your Knife Sharp
Using a honing steel regularly is key to keeping your knife sharp and performing well.
Start by holding the honing steel vertically, either on a stable surface or in your hand at waist level. Grip your knife firmly by the handle.
Angle the blade at about 15-20 degrees against the steel’s surface. Draw the blade down and across the steel, starting at the heel and moving to the tip with smooth, controlled motion.
Repeat this 5-10 times on each side of the blade. Keep a consistent angle and pressure for the best results.
Honing realigns the edge, helps prevent dullness, and extends your knife’s life.
Make honing a regular part of your knife maintenance routine to keep your blades in top shape.
When to Have Your Knives Professionally Sharpened
Even with regular honing, there comes a point when your knives need more than just a quick touch-up. Recognizing when to seek professional sharpening helps keep your knives effective and safe.
Consider professional sharpening if:
- The blade no longer cuts smoothly, even after honing.
- You notice visible chips, nicks, or dull spots on the edge.
- Your knife requires too much pressure to cut through ingredients.
If any of these signs show up, it’s time to visit a professional. They use specialized equipment to restore a razor-sharp edge, which DIY methods can’t always achieve.
Regular professional sharpening not only restores your knife’s edge but also extends its lifespan and keeps your kitchen running smoothly. Don’t wait until a dull blade makes cooking difficult—timely sharpening is key.
Pro Tips for Maintaining Your Kitchen Knives’ Sharpness Longer
Proper maintenance is key to keeping your knives sharp for longer periods. Always wash and dry your blades immediately after use to prevent corrosion and residue buildup. Use a gentle sponge or cloth instead of abrasive scrubbers that can dull the edge.
Store your knives properly, preferably in a knife block, on a magnetic strip, or in a sheath. Avoid loose drawers that can cause nicks and dull your blades. Regularly hone your blades with a honing steel to realign the edge and maintain sharpness between sharpenings.
Avoid cutting on hard surfaces like glass or stone. Stick to wood or plastic cutting boards instead. Finally, don’t forget to sharpen your knives at appropriate intervals to keep them performing at their best.
Proper care extends the life of your blades and makes your time in the kitchen more enjoyable.
Frequently Asked Questions
How Often Should I Sharpen My Kitchen Knives?
You should sharpen your kitchen knives every 1 to 2 months, depending on how often you cook and what kind of knives you have.
If your blades start dragging or you need to press harder, it’s probably time to sharpen. Regular honing with a honing steel can help extend the time between sharpenings.
Always pay attention to how your knives perform. A sharp knife isn’t just easier to use—it’s also safer and more effective.
Can Ceramic Knives Be Sharpened at Home?
Yes, you can sharpen ceramic knives at home, but you’ll need special tools and some care. A diamond sharpening stone or a ceramic knife sharpener works best since ceramic is much harder than steel.
Be gentle and precise when sharpening to avoid chipping or damaging the blade. If you’re unsure, it’s a good idea to have your knives professionally sharpened.
This way, you can keep your ceramic knives in top condition and stay safe while using them.
What Signs Indicate My Knife Needs Sharpening?
Imagine slicing a tomato and noticing it squishes instead of cuts cleanly. That’s a clear sign your knife needs sharpening.
You might also feel more effort required to cut through meat or vegetables or notice uneven slices or dull edges.
These signs mean your knife’s edge has dulled and needs attention. Regularly checking these cues helps keep your knife sharp.
A sharp knife makes kitchen tasks safer and more efficient. Plus, it helps your food look better when served.
Is There a Risk of Damaging My Knife During Sharpening?
Yes, there’s a risk of damaging your knife if you sharpen it improperly. Using too much pressure, the wrong angle, or a dull or damaged sharpening stone can harm the blade.
Always follow proper techniques, keep your angles consistent, and use the right tools. Take your time and stay focused during the process.
If you’re unsure, consider consulting a professional. This can help prevent accidental damage and keep your knife in top shape.
How Can I Safely Store My Sharpened Knives?
You can safely store your sharpened knives by keeping them in a knife block, on a magnetic strip, or in a protective sheath. These options help prevent accidental cuts and keep the blades from dulling or chipping.
Always make sure your knives are dry before storing them. This helps prevent rust and keeps your knives in good shape.
Avoid tossing knives in drawers, as this can damage the blades and pose safety risks. Proper storage keeps your knives sharp and safe to use.
Conclusion
Keeping your knives sharp isn’t just a chore. It’s the secret to turning your cooking into a culinary masterpiece.
With these simple steps, you’ll transform dull blades into razor-sharp tools that slice through ingredients like butter. Regular maintenance makes your knives feel almost magical, making prep effortless.
Mastering this skill means you’ll wield kitchen tools so precise, they’ll feel like extensions of your own hand. Staying sharp with knives is key to achieving perfect cuts every time.