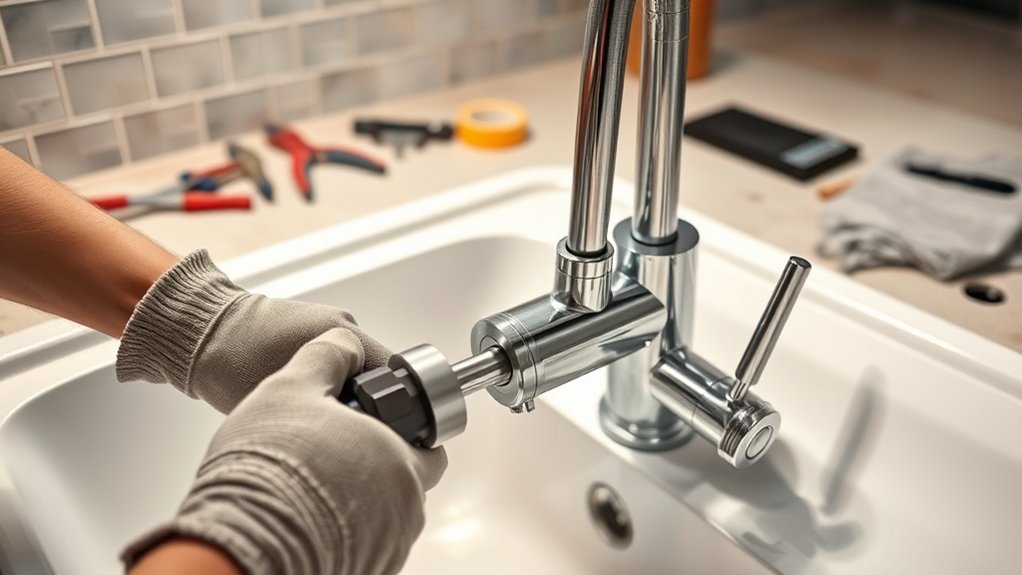
10 Easy Steps to Change Your Kitchen Faucet
Are you tired of dealing with leaky or outdated kitchen faucets? You’re not alone—many people struggle with DIY faucet replacements and worry about making mistakes. But don’t worry! Changing your kitchen faucet can be easier than you think with the right steps.
Start by gathering your tools and preparing a clean, well-lit workspace. Turn off the water supply, then carefully remove your old faucet, disconnecting the water lines and hardware.
Clean and inspect the sink surface before assembling and mounting your new faucet, ensuring all fittings are tight and secure. Turn the water back on, check for leaks, and test your faucet’s function.
Want to master each step smoothly? Keep going, and you’ll find all the helpful tips you need.
Key Takeaways
- Turn off the water supply and disconnect the water lines from the old faucet.
- Remove the mounting hardware and carefully lift out the old faucet.
- Next, clean the sink surface and check for any damage or debris.
- Follow the manufacturer’s instructions to assemble and install the new faucet.
- Reconnect the water lines, turn the water back on, and then check for leaks and proper flow.
Gather Your Tools and Prepare Your Workspace
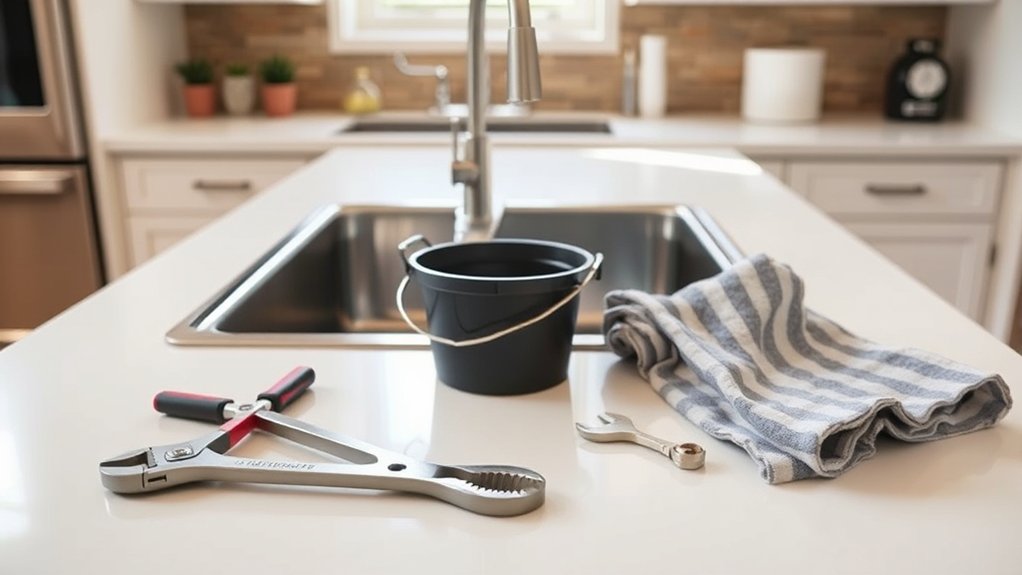
Gather all your tools and set up a clean workspace before you start. You’ll want a wrench, screwdrivers, pliers, and maybe a bucket or towels to catch any water spills.
Check if you have replacement parts like O-rings or washers just in case. Clear your counter of clutter to give yourself enough room to work comfortably.
Keep spare O-rings and washers handy, and clear your workspace for easy, stress-free faucet repairs.
Lay down a cloth or mat to protect your surfaces. Keep your tools organized in one spot so you can grab them quickly when needed.
Make sure your workspace is well-lit so you can see everything clearly. Being prepared will save you time and hassle during the faucet replacement.
Getting everything ready beforehand helps make the process smooth and stress-free.
Turn Off the Water Supply to Your Kitchen Faucet
Start by finding the shut-off valves under your sink. These valves control the water flow to your faucet and are key to preventing leaks during removal.
Once you locate them, turn each valve clockwise to shut off the water completely. Confirm the water has stopped by opening the faucet slightly and checking for any flow.
Here are some tips:
- Use a wrench if the valves are stiff
- Have a towel ready to catch any residual water
- Make sure to turn off both the hot and cold water valves
- Check for leaks after shutting everything off
Taking these steps ensures no water will spill when removing the faucet, making the process clean and safe.
Remove Your Old Kitchen Faucet Carefully
Before removing your old faucet, make sure you’ve turned off the water supply and disconnected the water lines.
Next, loosen and remove the mounting hardware securing the faucet in place.
Be careful during this process to avoid damaging the sink or surrounding area.
Turn Off Water Supply
To safely remove your old kitchen faucet, you need to turn off the water supply first. This step prevents water from spilling or causing damage while you work. Locate the shutoff valves under the sink, usually near the back wall or beneath the cabinet. Turn these valves clockwise until they’re fully closed.
Here are some key points to keep in mind:
- Check that the water is off by turning on the faucet briefly.
- Have a bucket or towels ready for any residual water.
- Use pliers if valves are stiff or hard to turn.
- If there are no local shutoff valves, turn off the main water supply to your house.
Taking these precautions guarantees a clean, safe removal process.
Disconnect Water Lines
Gently loosen the nuts or fittings connecting the water lines to your old faucet using pliers or an adjustable wrench. Be careful not to apply too much force, as this could damage the fittings or pipes.
Once loosened, carefully disconnect the water lines, making sure to catch any residual water that may drip out. To stay organized, label the hot and cold water lines if needed.
Use the following table to identify the connections:
| Line Type | Position |
|---|---|
| Hot | Left or top |
| Cold | Right or bottom |
| Supply Line | Connects to faucet base |
| Fittings | Secure joints |
| Residual Water | Expect some drip |
This step ensures a clean separation for removing the faucet.
Remove Mounting Hardware
Start by locating the mounting hardware securing your old faucet, usually found underneath the sink. Once you find it, gather your tools—typically a wrench or pliers—and get ready to loosen the nuts.
Turn the nuts counterclockwise to detach the faucet from the sink. Be prepared for some water drips, so keep a towel handy. If the hardware is corroded, apply some penetrating oil and wait a few minutes before trying again.
As you remove the hardware, hold the faucet steady to prevent it from falling. Keep the mounting nuts and washers in a safe place so you can use them for reinstallation. Use the right-sized wrench for a secure grip.
Loosen the nuts gradually to avoid damage. Keep the hardware organized to make reassembly easier. Be patient if parts are stuck or corroded.
Clean and Inspect the Sink Surface
Before installing your new faucet, check the sink surface for any residue that could interfere with a proper seal. Scrub the area thoroughly to remove stains and buildup, making sure it’s clean.
Also, inspect the sink for any cracks or damage. Fix any issues before you move forward with the installation.
Check For Residue
Begin by inspecting the sink surface for any leftover residue or buildup. Look closely at the area around your faucet and sink bowl for soap scum, hard water stains, or mineral deposits. Residue can interfere with sealing or cause leaks later. Be sure to check crevices and corners where grime can hide.
Here are some things to look for:
- Soap or grease spots
- Mineral deposits or hard water stains
- Food particles or crumbs
- Rust or corrosion
Removing residue now guarantees a clean, smooth surface for your new faucet. It also helps prevent future issues like leaks or mold growth. Taking this quick step keeps your sink in top shape before installing the new fixture.
Scrub Surface Thoroughly
To guarantee a smooth faucet replacement, give the sink surface a thorough scrubbing. Remove any loose debris, soap scum, or mineral deposits using a scrub brush or sponge. Pay close attention to corners and around the drain area, where grime often hides.
Use a mild cleaner or a mixture of baking soda and water for stubborn stains. Rinse the surface completely to wash away loosened dirt and cleaner residue. Dry the sink with a clean cloth to prevent water spots and to better spot any remaining grime.
This step ensures a clean, smooth surface for the new faucet, helping it sit properly and preventing future buildup. A clean sink surface also makes it easier to identify any underlying issues before installing the new fixture.
Inspect For Damage
Once you’ve thoroughly cleaned the sink surface, take a close look at it to spot any signs of damage. Check for cracks, chips, or corrosion that could affect the sink’s integrity. Damaged areas might cause leaks or make it harder to seal the new faucet properly.
Also, examine the drain area for rust or buildup that could interfere with installation. If you notice any issues, plan to repair or replace the sink before installing the new faucet.
Look for visible cracks or chips on the surface. Inspect the edges around the sink for corrosion. Check the drain area for rust or buildup.
Finally, confirm that the sink is securely mounted and stable. Addressing any damage or instability beforehand will make your faucet installation much smoother.
Assemble and Mount Your New Kitchen Faucet
Before you start assembling and mounting your new kitchen faucet, make sure you have all the tools and parts you need nearby.
Begin by attaching the faucet body to the mounting deck or sink, following the manufacturer’s instructions. Secure it with the mounting nuts, tightening them evenly for a stable fit.
If your faucet has a mounting plate, install it first, then slide the faucet into place. Make sure the faucet is aligned correctly before tightening everything fully.
Handle the mounting hardware carefully and avoid overtightening, which could damage components.
Check that all rubber gaskets and washers are properly positioned to prevent leaks.
Once the faucet is securely mounted, double-check that it’s level and firmly attached to the sink. Then, you can move on to connecting the water supply lines.
Connect the Water Supply Lines
Start by turning off the main water supply to prevent leaks. Then, open the existing faucet to relieve pressure and drain any remaining water.
Next, connect the new water supply lines to the shutoff valves and the faucet’s tailpieces. Make sure the lines are aligned properly to avoid kinks or twists.
Connect supply lines to valves and faucet, ensuring proper alignment to prevent kinks or twists.
Tighten the fittings by hand first, then use an adjustable wrench for a secure fit. Be careful not to overtighten, as this can damage the fittings.
Check that the supply lines are compatible with your faucet and valves. Use plumber’s tape on threaded connections for a watertight seal.
Keep a bucket or towels nearby for any drips during tightening. Finally, turn the water back on slowly and check all fittings for leaks.
Check for Leaks and Tighten All Fittings
After completing the connections, turn the water supply back on slowly. Once water is flowing, carefully check all fittings and connections for leaks.
Look for drips or moisture around the supply lines, shut-off valves, and underneath the sink. If you notice any leaks, tighten the fittings gently with a wrench or your hand.
Make sure they’re snug but not over-tightened. Sometimes, small leaks can be fixed by simply tightening the fittings.
Other times, you might need to replace worn washers or gaskets. Keep a close eye on the connections over the next few minutes.
This helps prevent water damage and makes sure your faucet works properly.
Turn the Water Back On and Test Your Faucet
Turn the water back on and let it run for a few moments.
Check the water flow to make sure it’s steady and strong. Look for any leaks around the fittings.
Adjust the water pressure if needed to get the flow just right and prevent drips.
Check Water Flow
Once you’ve reassembled the faucet components, turn the water supply back on slowly to avoid sudden pressure surges. Turn on the faucet to see if water flows smoothly and at the right pressure.
Check the flow rate and make sure there’s no sputtering or irregular bursts. If the water is weak or uneven, double-check that the aerator isn’t clogged or installed incorrectly.
Listen for any leaks around the base or handle. Make sure hot and cold water switch properly and that there are no drips. Adjust the handle or cartridge if needed.
Finally, confirm everything operates as it should before finishing. Verify steady water flow, proper hot and cold function, no leaks, and smooth handle movement.
Inspect for Leaks
With your faucet reassembled and the water supply gradually restored, it’s time to check for leaks. Turn on the faucet slowly and observe all around the base and under the sink. Look for any drips or puddles on the countertop or in the cabinet.
Also, check the connections you tightened during installation. Sometimes, a small leak can be hidden behind or beneath them. Run both hot and cold water to ensure there’s no dripping or moisture buildup.
Don’t forget to examine the aerator and other fittings for signs of leaks. If you notice any leaks, tighten the connections slightly or reseat the parts as needed. Address leaks promptly to prevent water damage and make sure your faucet works efficiently.
Adjust Water Pressure
After reassembling your faucet, slowly turn the water supply back on and let the water flow to check the pressure. Make sure the water flows steadily and at the right strength.
If the pressure feels too low or too high, you might need to adjust the shut-off valves or clean the aerator. Ensure there are no leaks or drips and that the pressure stays consistent.
To fine-tune the pressure, turn the shut-off valves slightly clockwise to reduce flow or counterclockwise to increase it. Clean or replace the aerator if the flow seems weak.
Also, check for kinks or blockages in the supply lines that could affect water flow. Testing and adjusting your faucet now helps it work properly and prevents future problems.
Troubleshoot Common Faucet Problems
Faucet problems are pretty common, and you can often fix them with a little troubleshooting. If your sink is dripping, the handle is hard to turn, or the water streams unevenly, don’t panic.
Start by figuring out what’s causing the issue. For leaks, check the aerator or cartridge. For low water pressure, look at the supply lines. Sometimes, mineral buildup or worn-out parts are the culprits.
Here’s a quick troubleshooting guide:
| Problem | Solution |
|---|---|
| Dripping faucet | Replace the washer or cartridge |
| Low water flow | Clean or replace the aerator |
| Handle stiffness | Lubricate or replace parts |
Most issues are simple fixes that can get your faucet working like new in no time.
Clean Up and Enjoy Your New Kitchen Faucet
Once you’ve installed and tested your new kitchen faucet, it’s time to clean up and enjoy the fresh look it brings to your space. Wipe down the faucet with a soft cloth to remove fingerprints, dust, or smudges. Check around the base and handle to make sure no water spots or debris are left behind.
If you used plumber’s putty or sealant, clean up any excess material for a tidy finish. Turn on the water to ensure everything runs smoothly and there are no leaks. Take a moment to admire your work and appreciate the upgraded look of your kitchen.
Next, wipe down the entire faucet with a microfiber cloth. Clean the sink and surrounding area to keep everything looking neat. Check for any leaks or drips to catch issues early.
Finally, organize your tools and leftover parts so everything stays tidy and ready for future projects. Enjoy your new faucet and the refreshed look of your kitchen!
Frequently Asked Questions
Can I Replace My Kitchen Faucet Without Professional Help?
Yes, you can replace your kitchen faucet without professional help if you’re comfortable with basic plumbing.
Start by turning off the water supply, then carefully disconnect the old faucet. Follow the manufacturer’s instructions when installing the new one.
Make sure all connections are tight and secure. Use the right tools and take your time to avoid leaks.
If you run into complex issues or feel unsure, it’s a good idea to consult a professional.
How Do I Choose the Right Kitchen Faucet Model?
You choose the right kitchen faucet by considering your needs, style, and budget. First, decide between a pull-down, pull-out, or single-handle faucet.
Measure your sink space to guarantee proper fit. Think about the finish that matches your decor, like chrome or matte black.
Check for features like water efficiency or touch controls. Finally, read reviews and compare prices to find a durable, reliable model that suits your lifestyle.
What Are Common Mistakes to Avoid During Installation?
You might think rushing is okay, but it’s a mistake during installation. Take your time and stay patient.
Avoid over-tightening connections, which can crack fittings or cause leaks. Always be gentle and follow the instructions.
Don’t forget to turn off the water supply. Skipping this step can lead to messy water spills.
Check for proper alignment to prevent issues later. It’s worth taking a moment to get everything just right.
Double-check your work to prevent leaks and make sure your faucet functions smoothly. Patience and careful attention make all the difference.
How Long Does a Typical Faucet Replacement Take?
A typical faucet replacement takes about 30 minutes to an hour, depending on your experience and the complexity of your plumbing.
If you’re familiar with tools and procedures, you might finish sooner. But if you run into stubborn fittings or tricky pipe connections, it could take longer.
Make sure to turn off the water supply beforehand and follow each step carefully to avoid delays. Patience helps ensure a smooth, efficient replacement process.
Are There Eco-Friendly Options for Kitchen Faucets?
Yes, eco-friendly kitchen faucets are available. You can choose models with low-flow aerators that reduce water consumption without sacrificing performance.
Look for faucets labeled with WaterSense certification, which guarantees efficiency. Some options also feature sensor activation to prevent unnecessary water use.
Conclusion
Now that you’ve successfully installed your new kitchen faucet, you’re all set to enjoy a fresh, functional upgrade. Remember, a little patience and attention to detail go a long way. Regular maintenance can keep everything running smoothly for years to come.
So, why settle for a faucet that doesn’t meet your needs when you now have the skills to keep your kitchen looking and working great? With your new faucet, you’re ready for any kitchen task.
Are you ready to tackle your next DIY project?