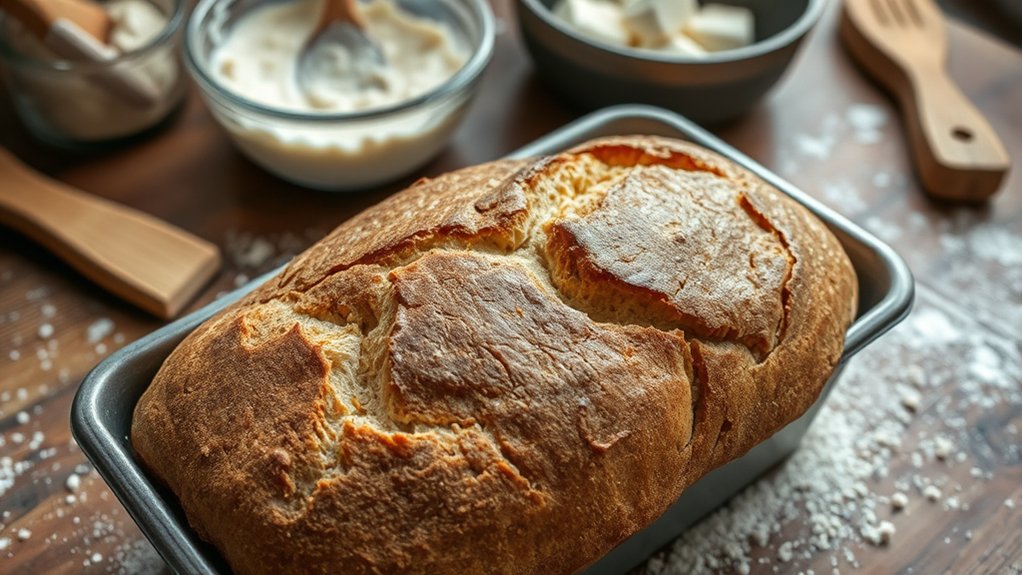
How You Can Make Sourdough Bread in a Loaf Pan Step-by-Step
Many home bakers dream of making perfect sourdough bread but often feel overwhelmed by the process or unsure about how to get that beautiful crust and open crumb.
You’re not alone—lots of people struggle with achieving consistent results in their sourdough baking.
To make sourdough bread in a loaf pan, start by using high-quality bread flour with 70-80% hydration and ensure your starter is active.
Mix, knead, and shape the dough into a smooth loaf, then place it in a greased loaf pan. Proof until doubled in size.
Bake at 450°F, then lower the temperature to 425°F, and continue baking until the crust is deep golden.
Once done, cool the bread on a wire rack before removing it from the pan.
Keep exploring for tips to perfect your loaf.
Key Takeaways
- Use high-quality bread flour and aim for 70-80% hydration for the dough.
- Feed your sourdough starter 4-6 hours before baking until it’s active and bubbly.
- Shape the dough smoothly, then place it in a greased loaf pan. Let it proof until it doubles in size.
- Bake at 450°F with steam, then reduce the temperature to 425°F. Once baked, cool the bread on a wire rack before slicing.
- Create a humid proofing environment and keep an eye on the dough as it rises. This helps achieve the perfect texture and crust.
Why Baking Sourdough in a Loaf Pan Is Easier
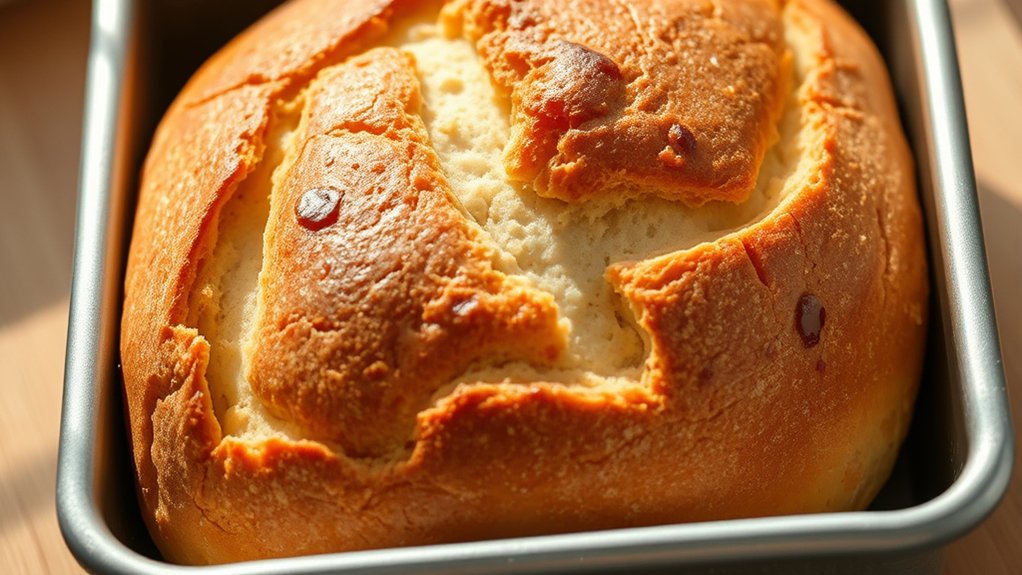
Baking sourdough in a loaf pan makes the process easier by giving you a consistent shape and structure without needing advanced shaping skills. You don’t have to worry about forming the perfect round or oval loaf, which can be difficult for beginners.
Baking sourdough in a loaf pan simplifies shaping and ensures consistent, professional-looking results.
The loaf pan guides your dough into a uniform shape, making it simpler to get a professional-looking result. It also helps contain the dough as it rises, reducing mess and preventing spreading all over your workspace.
Plus, using a pan ensures even heat distribution, which leads to a well-baked crusty exterior and a soft interior. If you’re new to sourdough baking or just want a straightforward method, baking in a loaf pan takes out much of the guesswork.
It’s a reliable way to enjoy homemade sourdough with less fuss and more confidence.
Choose the Best Flour and Hydration for Your Sourdough
Have you ever wondered why some sourdoughs turn out perfectly chewy and flavorful while others fall flat? The key is choosing the right flour and hydration level.
For the best flavor and structure, go for high-quality bread flour with a protein content around 12-14%. This helps develop a strong gluten network, giving your bread that chewy texture.
Hydration, or the water-to-flour ratio, also makes a big impact. Usually, aim for 70-80% hydration for a moist, open crumb. Too little water makes the dough stiff, while too much can make it hard to handle.
Adjusting these factors based on your flour type and environment will help you craft a loaf with the perfect balance of flavor, texture, and rise.
Get Your Sourdough Starter Ready for Pan Baking
Before you can fill your loaf pan with perfect dough, your sourdough starter needs to be lively and active. To do this, feed it with fresh flour and water, ideally 4 to 6 hours before baking.
Look for signs of activity, like bubbles and a rise in volume. The starter should also have a pleasant, slightly tangy aroma.
If it’s not bubbly or has a dull smell, give it an extra feeding and wait a few hours. A healthy starter is key for good fermentation and flavor.
Keep it at room temperature until it reaches its peak activity. Once it doubles in size and looks frothy, it’s ready to be added to your dough for baking in the loaf pan.
Mix and Knead Your Dough for a Perfect Rise
Start by combining your active sourdough starter with flour, water, and a pinch of salt in a large mixing bowl. Mix until everything is well incorporated and the dough begins to form. Once combined, you’ll want to knead the dough to develop gluten and improve structure.
Here are some key steps to guarantee proper mixing and kneading:
Focus on thorough kneading, stretch and fold techniques, and the windowpane test for perfect gluten development.
- Knead thoroughly for about 8–10 minutes, folding and pressing to create a smooth, elastic dough.
- Perform stretch and fold techniques to strengthen the dough without overworking it.
- Check for the windowpane test—stretch a small piece of dough into a thin, translucent membrane to verify proper gluten development.
This process helps your dough rise evenly and creates a better crust.
Check Your Dough’s Readiness for Proofing
To figure out if your dough is ready for proofing, do the poke test. Gently press your finger into the surface of the dough.
If the indentation springs back slowly and still leaves a mark, it’s ready.
If it bounces back quickly, give it more time.
If it doesn’t bounce back at all, it might be over-proofed.
Use this table to help you judge:
| Test Result | What It Means |
|---|---|
| Indentation slowly bounces back | Dough is ready for proofing |
| Indentation remains visible | Needs more fermentation |
| Indentation disappears quickly | Over-proofed, punch down and reshape |
Checking your dough with this simple test helps ensure perfect proofing. This leads to a better loaf every time.
Shape and Fill Your Loaf Pan for Even Baking
To get your bread baking evenly, start by shaping your dough into a smooth, even loaf. Distribute any fillings evenly to avoid uneven spots, and fill your pan just enough to leave room for expansion.
Proper shaping and filling help ensure your bread rises uniformly and bakes to perfection. Taking these steps can make a big difference in your final loaf.
Properly Shape Your Dough
Gently turn your dough onto a lightly floured surface and shape it into a smooth, taut loaf. This step helps create surface tension, which improves the bread’s rise and crust. To do this effectively:
- Pull the edges of the dough toward the center, pinching the seams underneath.
- Lightly stretch and fold the dough to tighten its shape.
- Tuck the ends underneath to form a uniform, rounded shape.
Make sure the dough feels firm but not overly tight. The goal is a tight surface that holds its shape during baking. Proper shaping guarantees even baking and a professional look. Once shaped, transfer it carefully to your prepared loaf pan for the final proof.
Evenly Distribute Fillings
Start by spreading your fillings evenly across the bottom of the prepared loaf pan, making sure there are no big gaps or uneven layers. Distribute ingredients like nuts, dried fruit, or herbs in a uniform layer so they don’t sink or create uneven pockets while baking.
Gently press fillings into the dough if needed, to help them stay in place. Be careful not to overload the pan, as this can cause uneven baking or spillover. If you’re adding multiple layers or fillings, layer them lightly to keep things balanced.
Ensure Uniform Bread Rise
Guaranteeing a uniform bread rise starts with shaping your dough properly and filling the loaf pan evenly. Proper shaping helps the dough rise evenly without collapsing or overflowing.
Filling the pan evenly ensures consistent heat exposure and prevents uneven baking. To do this, gently pat the dough into a rectangular shape that fits the pan, avoiding tight or uneven surfaces.
Use a spatula or your hands to spread the dough evenly throughout the pan, pressing it into the corners. Leave enough space at the top of the pan for the dough to expand during proofing and baking.
Following these simple steps helps your bread rise evenly, giving you a consistent, professional-looking loaf.
Proof Your Sourdough in the Loaf Pan
To guarantee your sourdough proofing goes smoothly, start by properly preparing your dough so it holds its shape.
Find a warm, humid spot to create an ideal proofing environment that encourages the dough to rise.
Keep a close eye on it to monitor its growth, and stop proofing once it has doubled in size for perfect results.
Properly Prepare the Dough
Gently shape your dough into a loaf that fits your pan, then place it inside, seam side down. This helps ensure the dough keeps its shape during proofing. Before putting it in the pan, lightly dust the surface with flour to prevent sticking. Cover the pan with a clean towel or plastic wrap so the dough can rise properly.
To prepare the dough correctly, make sure it’s smooth and elastic, which shows good gluten development. Check if it has proofed enough by gently pressing; it should slowly spring back. Adjust the proofing time if needed, aiming for it to nearly double in size. This creates the perfect structure for baking.
Optimal Proofing Environment
Creating the right environment for proofing your sourdough in a loaf pan is key to getting a well-risen, airy bread. You want to keep the dough in a warm, humid spot to help fermentation without it drying out.
A common trick is to place the loaf pan inside a slightly larger container and cover it with a damp towel or plastic wrap. This setup creates a cozy, humid environment for your dough to rise.
Aim for a temperature around 75-80°F (24-27°C). This warm range encourages steady rising and good fermentation. If your kitchen is cooler, try placing your proofing setup near a radiator or inside an oven with the light on.
Maintaining consistent warmth and humidity helps develop the dough’s structure. This ensures a good rise and results in a light, fluffy loaf you’ll love.
Monitor Dough Rise
Keep a close eye on your dough as it proof’s. Watching its rise helps you catch the perfect moment for baking. The dough should roughly double in size and feel light and airy when gently pressed. Timing varies based on room temperature and how active your dough is, so don’t rely only on the clock.
Instead, look for these key signs:
- The dough has expanded to fill your loaf pan, reaching just above the rim.
- It springs back slowly when you gently press with a finger, about 1 second.
- The surface looks bubbly or slightly domed, showing active fermentation.
Monitoring helps you avoid under-proofing or over-proofing, both of which can affect texture and rise. Staying attentive ensures you get a beautifully risen, flavorful sourdough loaf.
Bake Your Sourdough: Temperature and Timing Tips
Achieving a perfectly baked sourdough loaf means paying close attention to temperature and timing. Preheat your oven to 450°F (232°C) and place a baking stone or an empty Dutch oven inside to heat up.
Once everything’s hot, transfer your loaf into the oven and reduce the temperature to 425°F (218°C). Bake for 25-30 minutes, checking the crust for a deep golden color.
If you like a crisper crust, you can bake it a little longer, but be careful not to burn it. Keep an eye on the loaf’s look and internal temperature, which should reach about 200°F (93°C).
Using a thermometer can really help you know when it’s done. Proper timing and temperature are key to developing that flavorful crust and making sure your sourdough is fully cooked inside.
Cool and Remove Your Loaf Without Cracks
Once you’ve taken your loaf out of the oven, it’s tempting to start slicing right away. But giving it some time to cool properly is really important to avoid cracks and keep its shape. Cooling helps the crust set and reduces moisture inside, which prevents sudden expansion that can cause cracks.
To do this the right way:
- Immediately transfer the loaf to a wire rack to allow airflow.
- Let it cool for at least 1-2 hours before removing it from the pan.
- If needed, gently loosen the edges with a spatula, but don’t handle it too soon.
Patience pays off and makes sure your sourdough stays intact and looks beautiful. Once it’s cooled, you can safely remove the loaf from the pan, revealing a crack-free, perfectly shaped bread ready to enjoy.
Troubleshoot Common Sourdough Baking Problems
Even experienced bakers encounter common issues like dense crumb, flat loaves, or cracks, but many of these problems can be easily addressed with the right troubleshooting techniques.
If your bread turns out dense, it’s likely due to under-proofing or insufficient fermentation. Allow your dough more time to rise and make sure your starter is active.
Flat loaves often result from over-proofing or not shaping the dough tightly enough, so work on your shaping technique and monitor proofing times carefully.
Cracks can form if the dough dries out or if it’s baked at too high a temperature. Cover your dough adequately during proofing and use an accurate oven thermometer.
Adjusting these factors will help improve your sourdough’s texture and appearance, leading to better results each time.
Creative Variations to Customize Your Sourdough Loaf
Looking to add a personal touch to your sourdough loaf? Creative variations can turn a simple loaf into a signature bread.
First, experiment with mix-ins like nuts, seeds, or dried fruits to add texture and flavor. Second, incorporate herbs or spices—try rosemary, garlic, or cinnamon—for a unique aroma and taste.
Third, swap out water for buttermilk or brewed tea to influence the crumb and crust. You can also shape the dough into rolls or add toppings like oats or coarse salt before baking.
These tweaks allow you to customize your bread, making each loaf special and suited to your preferences. Remember, small changes can create delightful new flavors and textures, elevating your sourdough baking experience.
How to Store and Keep Your Sourdough Fresh Longer
To keep your sourdough bread fresh for longer, proper storage methods are key. Store it at room temperature in a paper bag or breathable cloth to prevent moisture buildup and mold.
For longer preservation, freeze slices or the whole loaf wrapped tightly in plastic wrap and placed in an airtight container. When you’re ready to eat, thaw at room temperature or gently warm in the oven.
| Storage Method | Best For |
|---|---|
| Paper bag or cloth | Short-term, 1-2 days |
| Plastic wrap & freezer | Long-term, up to 3 months |
| Airtight container | Keeps it fresh longer |
Following these tips helps retain flavor and texture, making sure your sourdough stays delicious.
Frequently Asked Questions
Can I Use a Glass or Metal Loaf Pan for Baking Sourdough?
Yes, you can use a glass or metal loaf pan for baking sourdough. Glass pans distribute heat evenly, helping your bread bake consistently, while metal pans heat up quickly and can give a nice crust.
Just make sure the pan is oven-safe and prepared with parchment paper or greasing. Keep an eye on the baking times—glass may need a little longer, and metal might bake a bit faster.
How Do I Prevent Sticking When Baking Sourdough in a Loaf Pan?
Think of your loaf pan as a stage, and you want your bread to perform smoothly. To prevent sticking, generously grease the pan with butter or oil, then dust it with flour or cornstarch.
Using parchment paper also works wonders, like a slipcover. I once had a stubborn loaf stick to the pan until I lined it with parchment. Now, every time, my sourdough slides out effortlessly.
What Are Common Signs My Sourdough Is Over-Proofed?
You’ll notice your sourdough is over-proofed if it’s very flat or overly bubbly, indicating it’s lost its strength.
It may also spread out or collapse when you try to score it. The dough might feel very soft or sticky, and it won’t spring back when gently pressed.
These signs mean the gluten structure has weakened, so next time, try proofing for a shorter time to avoid over-proofing.
Should I Score My Sourdough Before Baking in a Loaf Pan?
You don’t need to score your sourdough before baking in a loaf pan. Since the dough is enclosed during baking, scoring isn’t necessary to control expansion or vent steam.
Instead, focus on properly shaping your loaf and ensuring a good proof. These steps are more important for a successful bake.
If you want a decorative look or a specific crust, you can score the dough before placing it in the pan. But overall, scoring isn’t essential for baking success.
How Can I Achieve a Crusty Top in a Loaf Pan Bake?
To get a crusty top in a loaf pan, start by preheating your oven and the pan thoroughly. This helps create a hot environment that promotes crust formation.
Once your dough is in the pan, add steam by placing a tray of hot water in the oven or spritzing the dough with water before baking. This moisture helps develop a nice crust.
Bake at a high temperature, around 450°F. Halfway through, remove the lid or cover to let the crust crisp up and brown beautifully.
Conclusion
Baking sourdough in a loaf pan is a simple way to enjoy fresh, homemade bread with a perfect shape. Did you know that sourdough bread has been linked to better digestion and lower glycemic responses?
With just a few easy steps, you can master this method and create delicious, customizable loaves. So go ahead—grab your ingredients and give it a try.
Your taste buds and gut will thank you for making sourdough bread in a loaf pan.