How You Can Cook Ham in a Roaster Pan Step-by-Step
Many home cooks find cooking ham in a roaster pan a bit intimidating, especially when aiming for that perfectly juicy, flavorful result. You’re not alone—getting that tender, delicious ham just right can be tricky.
But don’t worry, with a few simple steps, you’ll be serving up a mouthwatering ham everyone will love.
Start by choosing a bone-in whole ham for maximum flavor. Prep your roaster pan by cleaning and drying it thoroughly. Lift the ham into the pan using a rack or foil for easy handling.
Season and glaze the ham during the last 30 minutes of roasting at 325°F. Baste often to keep it moist and flavorful. Check the internal temperature—140°F for pre-cooked or 160°F for raw.
Let the ham rest before slicing to lock in the juices. Keep it juicy and delicious with these simple steps.
Continue for more expert tips on perfecting your ham!
Key Takeaways
- Choose the right ham type and size, making sure it fits your roaster pan and suits your taste.
- Clean and dry the roaster pan. Place a rack or some foil to lift the ham off the bottom.
- Season and glaze the ham as you like. For the best caramelization, apply the glaze during the last 30 minutes of cooking.
- Roast at 325°F if your ham is precooked, or 350°F if it’s uncooked. Keep an eye on the internal temperature using a thermometer.
- Once done, let the ham rest for about 15 minutes. Then, slice against the grain to keep it juicy.
Choosing the Best Ham for Roasting in a Pan
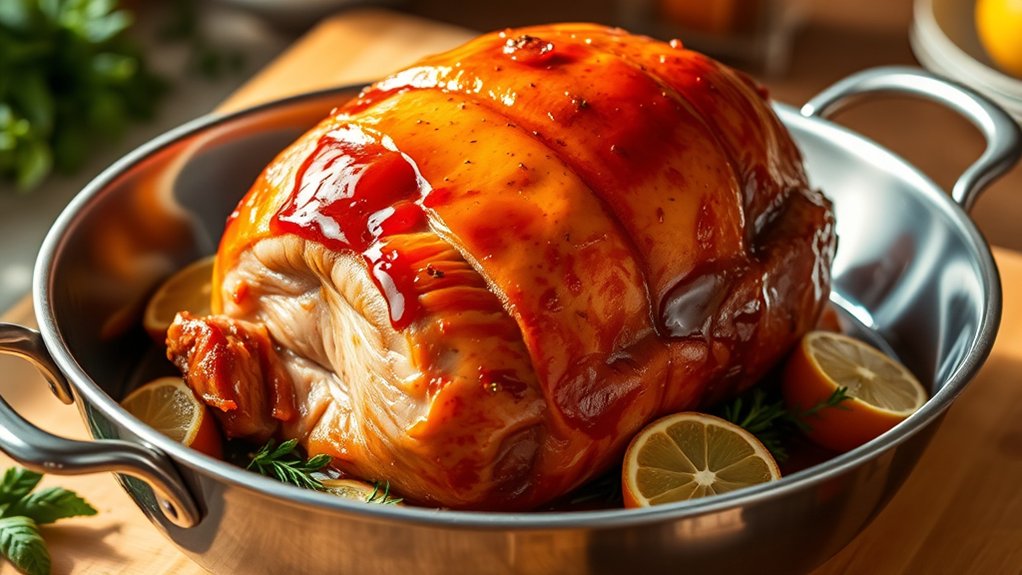
When choosing a ham for roasting in a pan, it’s important to think about the type that best matches your flavor preferences and recipe. You’ll want to decide between a city ham or a country ham.
City hams are usually wet-cured, tender, and mild. They’re great for glazing and serving as a main dish. Country hams are salt-cured, dry, and have a more intense flavor.
They’re often better for slicing thin or adding to recipes. Consider bone-in versus boneless options: bone-in hams tend to be more flavorful and moist, while boneless hams are easier to carve.
Also, check the label for size and weight to make sure it fits your pan and serving plans. Picking the right ham sets the foundation for a delicious roast.
How to Prepare Your Roaster Pan for Cooking Ham
Start by cleaning and drying your roaster pan thoroughly to prevent sticking and ensure even cooking.
Next, place cooking racks inside the pan to lift the ham off the bottom and promote better heat circulation.
With these steps, your pan will be ready for a perfect roast.
Clean and Dry Pan
Before you begin cooking the ham, make sure your roaster pan is thoroughly cleaned to prevent any leftover residues from affecting the flavor. Wash it with warm, soapy water, scrubbing away any grease or debris from previous use.
Rinse it well to remove all soap residue, then dry it completely with a clean towel or paper towels. A dry pan guarantees even cooking and prevents steam or excess moisture from diluting the flavors.
If your pan has stubborn spots, you can soak it briefly or use a gentle scrub brush. Proper cleaning and drying create a fresh, neutral surface for your ham, helping it cook evenly and taste its best.
Take your time to ensure the pan is spotless and dry before proceeding.
Add Cooking Racks
Place a cooking rack inside the roaster pan to lift the ham and ensure even heat circulation. The rack prevents the ham from sitting directly on the bottom, which can cause uneven cooking or burning.
Choose a rack that fits well inside your pan and can support the weight of the ham. If you don’t have a rack, you can make a makeshift one using crumpled aluminum foil or place vegetables like carrots or onions underneath the ham to raise it slightly.
Make sure the rack is sturdy enough to hold the ham securely. Properly raising the ham allows heat to circulate evenly around it, resulting in a uniformly cooked, tender, and flavorful dish.
This simple step helps you achieve the best results for your roasted ham.
How to Season and Glaze Your Ham for Maximum Flavor
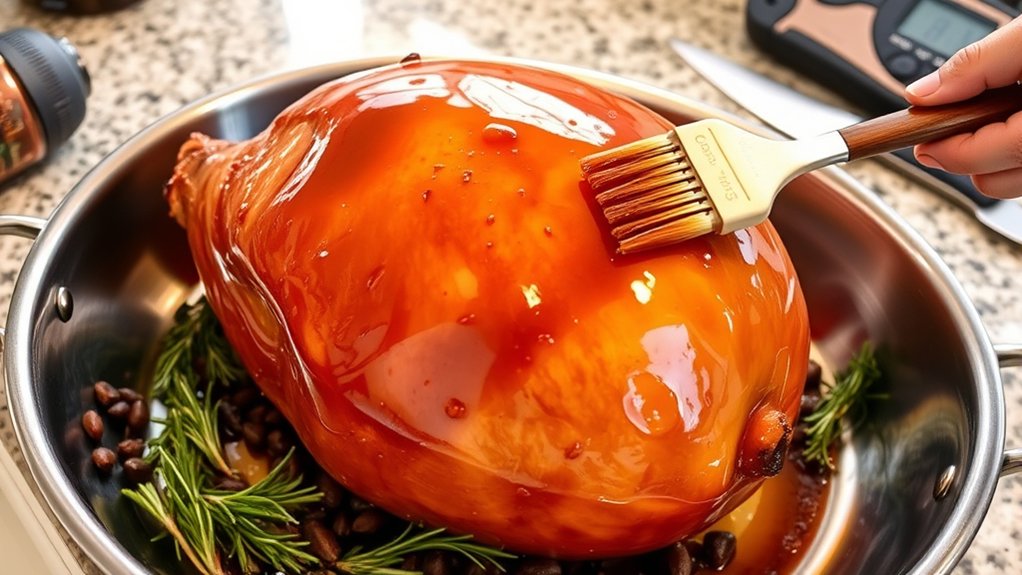
To maximize flavor, it’s essential to season and glaze your ham thoughtfully. Start by applying a simple dry rub with brown sugar, cinnamon, and cloves for warmth and depth.
For a bright, tangy touch, brush on a glaze made from honey, Dijon mustard, and apple cider vinegar. You can also add flavor by inserting cloves into the ham or sprinkling herbs like thyme or rosemary.
When glazing, baste generously and frequently to build a rich, caramelized coating. Here are some tips to improve your ham’s flavor:
- Use a sweet and savory glaze combo like maple syrup and Dijon mustard
- Incorporate spices such as nutmeg or allspice
- Add fruit elements, like pineapple slices or cherry preserves
- Apply the glaze during the last 30 minutes of cooking for best results
How Long and at What Temperature Should You Roast Your Ham?
Roasting your ham to perfection requires paying close attention to temperature and timing. For a fully cooked, precooked ham, set your roaster to 325°F (163°C). Roast it for about 10-15 minutes per pound to heat it evenly without drying it out.
If you’re working with an uncooked ham, increase the temperature to 350°F (177°C) and plan for 20-25 minutes per pound to guarantee thorough cooking. Always check the ham’s label for specific instructions, as sizes and types vary.
Cover the ham loosely with foil to keep it moist, and baste it occasionally if glazed. Use a reliable thermometer to monitor the internal temperature. Aim for 140°F (60°C) for precooked, and 160°F (71°C) for uncooked hams.
This method ensures a juicy, perfectly roasted ham every time.
How to Check if Your Ham Is Done and Rest It Properly
Once your ham is done roasting, it’s key to check that it’s cooked through before serving. Use a meat thermometer and aim for 140°F (60°C) if it’s pre-cooked, or 145°F (63°C) if it’s fresh.
Insert the thermometer into the thickest part of the ham without touching the bone. Check the temperature at multiple spots to ensure accuracy.
Once it hits the right temperature, take the ham out of the pan and let it rest. Resting helps the juices redistribute, so your slices stay moist.
Cover the ham loosely with foil and wait at least 15 minutes before carving. This simple step makes a big difference in how juicy your ham turns out.
Use a thermometer that’s easy to read and accurate for the best results.
Tips to Keep Your Ham Juicy and Delicious
Keeping your ham juicy and delicious starts with proper preparation and handling. First, avoid overcooking by closely monitoring the internal temperature. Use a meat thermometer and take the ham out once it hits the right temp.
Brushing the ham with a glaze or a bit of broth during cooking helps lock in moisture and adds flavor. Covering it with foil traps steam and keeps the meat moist. Basting it every now and then also boosts juiciness.
Let the ham rest for at least 15 minutes before slicing. This helps the juices redistribute evenly. Finally, slice against the grain for tender, juicy pieces. These simple tips will keep your ham flavorful, moist, and irresistibly tender.
Troubleshooting Common Problems When Roasting Ham in a Roaster Pan
When roasting ham in a roaster pan, you might notice uneven cooking or your ham drying out unexpectedly. These problems can happen if the heat isn’t spreading evenly or if moisture escapes too quickly.
Knowing how to troubleshoot these common issues will help you get a perfectly cooked, juicy ham.
Uneven Cooking Challenges
Uneven cooking is a common challenge when roasting ham in a roaster pan, especially if the heat isn’t evenly distributed. You might notice some parts are perfectly cooked while others are underdone or overcooked.
To fix this, place your roaster on a flat, stable surface. Use a reliable oven thermometer to keep an eye on the temperature and avoid hot spots. Rotating the ham halfway through helps ensure even heat exposure.
Also, avoid overcrowding the pan, as that can block heat flow. Keep the ham uncovered or loosely covered with foil for the best results.
Moisture Retention Issues
Moisture loss is a common issue when roasting ham in a roaster pan, often resulting in dry, tough meat. To prevent this, keep the ham covered with foil or a lid during roasting to trap steam and juices.
Basting the ham regularly with its own juices or a prepared glaze also helps retain moisture. Avoid overcooking by using a reliable meat thermometer and removing the ham when it reaches the recommended temperature.
Adding a liquid like water, broth, or apple juice to the bottom of the pan creates a moist environment and helps prevent the meat from drying out. Remember, slow and gentle heat preserves moisture, so don’t rush the cooking process.
These steps will help ensure your ham stays juicy and tender.
Frequently Asked Questions
Can I Cook a Frozen Ham in a Roaster Pan?
Yes, you can cook a frozen ham in a roaster pan, but it will take longer. Expect to add about 50% more cooking time compared to a thawed ham.
Make sure your oven is set to a safe temperature, usually 325°F. Use a meat thermometer to ensure the internal temperature reaches 140°F.
Keep the ham covered during cooking and check it periodically. This helps prevent overcooking and keeps the ham moist.
What Types of Ham Are Best Suited for Roasting?
You’ll find that bone-in ham is best for roasting because it retains moisture and flavor, making each bite juicy. Notably, about 75% of ham sold in the U.S. is bone-in, highlighting its popularity.
You should choose a fresh or pre-cooked ham, depending on your preference. Both types roast well, but pre-cooked ham offers a quicker, easier meal, while bone-in adds rich taste and tenderness.
Should I Cover the Ham While Roasting?
Yes, you should cover the ham while roasting to keep it moist and prevent it from drying out. Use foil or a lid to trap the steam, which helps maintain juiciness and ensures even cooking.
Uncover the ham towards the end of roasting if you want to develop a glaze or crispy exterior. Covering is especially important for larger, bone-in hams to achieve tender, flavorful results.
How Do I Store Leftovers Safely?
Imagine you’ve just finished a holiday feast and have leftovers. To store them safely, you should refrigerate the ham within two hours of cooking.
Wrap the slices tightly in plastic wrap or place them in airtight containers. Label the containers with the date so you know when you need to use them.
This way, you can enjoy your ham for up to 3 to 4 days later. It helps reduce the risk of bacterial growth and keeps everything fresh.
Can I Add Vegetables to the Roaster Pan?
Yes, you can add vegetables to the roaster pan. Just place hardy vegetables like carrots, potatoes, and onions around the ham while it cooks.
Make sure to cut them into uniform pieces so they cook evenly. You might also want to toss them with some oil, salt, and herbs beforehand for extra flavor.
Keep an eye on the vegetables, as they can become tender and flavorful, really complementing your ham perfectly.
Conclusion
Now that you know how to cook ham in a roaster pan, you’re all set to create a feast that’s nothing short of legendary.
With just the right prep, seasoning, and timing, your ham will turn out juicy, flavorful, and perfectly cooked—like a culinary masterpiece straight from the heavens.
Trust the process, and soon you’ll be delighting everyone with a dish so amazing it’ll be the talk of the town for ages to come.
Cooking ham in a roaster pan is a simple yet impressive way to serve up a delicious meal that everyone will love.