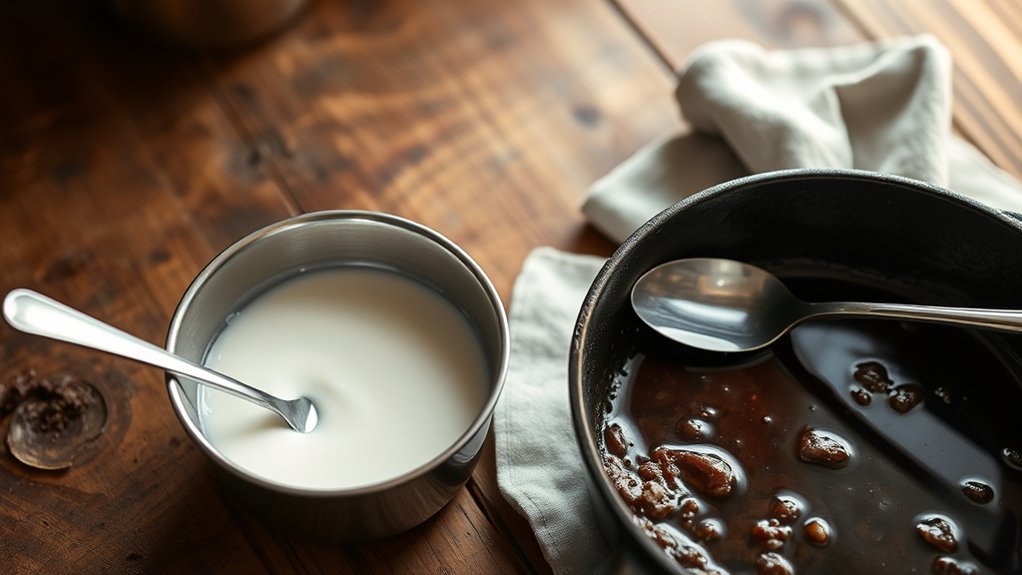
How to Make Beef Gravy From Beef Drippings in 8 Easy Steps
Many home cooks know the struggle of making that perfect, rich beef gravy from scratch. It often feels like a tricky task, especially when you’re trying to maximize flavor without ending up with a lumpy or bland result. You’re not alone—getting gravy just right can be a challenge, but with a few simple steps, you can elevate your roast dinners every time.
To make beef gravy from beef drippings, first gather your drippings and skim off excess fat.
Deglaze the pan with broth or wine to release flavorful bits, then make a roux by cooking equal parts flour and fat until golden. Gradually whisk in broth and drippings, and simmer until thickened.
Adjust seasonings like salt, pepper, or Worcestershire sauce to taste. For a rich, smooth gravy, stirring throughout is key.
Follow these steps closely — you’ll find plenty of tips to perfect your gravy.
Key Takeaways
- Collect and skim the beef drippings from your pan. Then, deglaze the pan with wine, broth, or water to add flavor.
- Make a roux by cooking equal parts flour and fat until it turns a nice golden color. Whisk the roux into the drippings, stirring constantly.
- Gradually add beef broth and the reserved drippings. Keep stirring as the gravy thickens.
- Let it simmer for a few minutes, then taste and adjust the seasonings. Add salt, pepper, or Worcestershire sauce as needed.
- Serve the gravy hot over meats or vegetables. Make sure it’s smooth and full of flavor before serving.
Gather Beef Drippings and Set Up Your Workspace
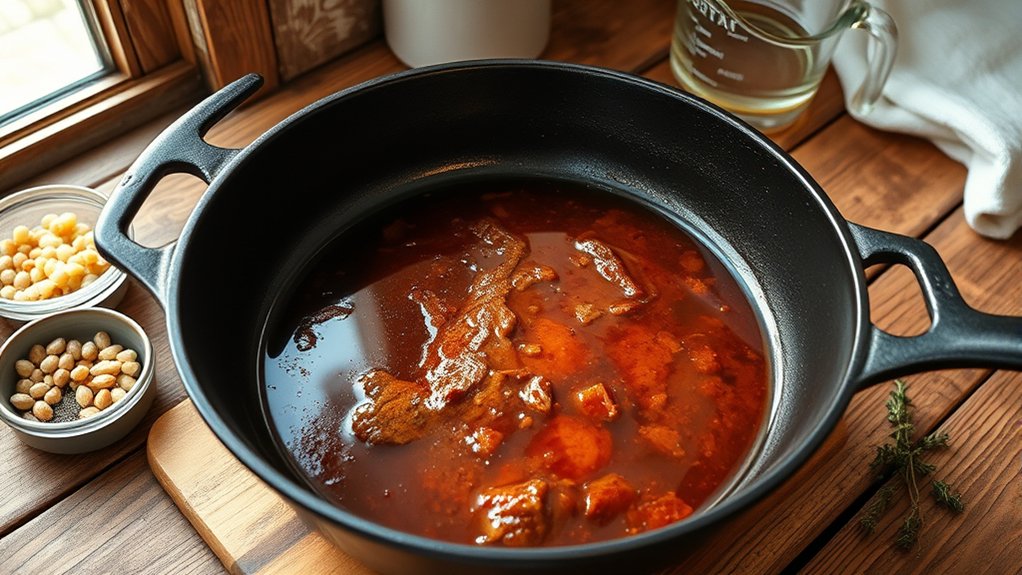
To start making beef gravy, gather your beef drippings from the roasting pan or skillet. Once collected, pour the drippings into a heatproof bowl or measuring cup. Let the fat rise to the top, then skim it off with a spoon, saving the flavorful liquid below.
Clear workspace is essential, so tidy up your counter and gather your ingredients—flour or cornstarch, broth, seasonings, and a whisk. Place a saucepan nearby for your gravy.
Tidy your counter and gather flour, broth, seasonings, and a whisk for smooth, efficient gravy prep.
Keep everything within reach so you can work smoothly. Using clean utensils and measuring tools helps ensure accuracy and prevents cross-contamination. Setting up your workspace ahead of time makes the process more efficient and enjoyable.
This way, you can focus on creating a rich, flavorful beef gravy from the start.
Deglaze the Pan to Unlock Juicy Flavors
To release the rich flavors stuck to the pan, choose a liquid like wine, broth, or water to deglaze.
As you pour it in, use a spoon or spatula to scrape up the browned bits. These are packed with flavor.
This step guarantees your gravy has a deep, savory taste that elevates every bite.
Choose the Right Liquid
When making beef gravy, choosing the right liquid is key for rich, flavorful results. After removing the beef from the pan, you’ll want to add a liquid that lifts the browned bits and boosts the flavor.
Common choices include beef broth or stock for a hearty, savory taste. You can also use red wine or even water if needed. Pour the liquid into the hot pan, scraping up any browned bits stuck to the bottom.
This process is called deglazing and it releases those concentrated flavors. The liquid loosens all those tasty bits, creating a flavorful base for your gravy.
Use enough liquid to cover the bottom of the pan, but don’t overdo it. The goal is a balanced, rich gravy that’s not too thin.
Scrape Fond Effectively
After removing the cooked beef from the pan, it’s important to scrape up the browned bits stuck to the bottom. These flavorful bits, called fond, are full of savory juices that can be lost if you don’t deglaze properly.
To unlock their full flavor, pour a small amount of liquid—like beef broth, wine, or water—into the hot pan. Use a wooden spoon or spatula to gently scrape the bottom and loosen the fond.
This releases concentrated flavors into your liquid, creating a rich base for your gravy. Be sure to scrape thoroughly, but try not to scratch the pan.
Deglazing not only boosts flavor but also prevents burning or sticking. This way, your gravy will turn out delicious and packed with juicy, beefy goodness.
Whisk in a Roux to Thicken Your Beef Gravy
Whisking in a roux is the key step to thickening your beef gravy smoothly and evenly. To make a roux, combine equal parts flour and fat—usually butter or beef drippings—in a separate pan.
Whisking in a roux ensures smooth, even thickening for perfect beef gravy.
Cook the mixture over medium heat, stirring constantly, until it turns a light golden color. Once your roux is ready, slowly add it to the hot beef drippings, whisking constantly.
This helps prevent lumps and guarantees the gravy thickens uniformly. Continue whisking until the gravy reaches your desired consistency.
Keep in mind that the gravy will thicken more as it simmers, so don’t overdo it with the roux at first. This technique creates a rich, velvety texture that complements the beef drippings perfectly.
Add Beef Broth for Richness and Depth
Adding beef broth to your gravy brings in rich flavor and deepens its savory profile. It helps create a more robust and flavorful sauce that pairs perfectly with your meat.
Pour the broth gradually into your thickened gravy, stirring constantly to ensure it stays smooth. The broth not only improves the taste but also adds moisture, making the gravy more pourable and appetizing.
If you want a thicker consistency, just simmer the mixture longer to reduce it slightly. Using high-quality beef broth makes a noticeable difference, infusing your gravy with a more authentic, meaty flavor.
Stir in Drippings and Seasonings for Flavor
To boost the flavor, stir in the beef drippings and seasonings, but do so carefully to maintain balance.
Use seasonings like salt, pepper, and herbs to elevate richness without overpowering the gravy.
Incorporate the drippings gradually, tasting as you go, to guarantee a well-rounded, flavorful result.
Enhancing Richness With Seasonings
Once your gravy base has simmered and thickened, stirring in drippings from the roast adds depth and richness. These flavorful drippings carry concentrated beef taste, enriching the gravy’s savory profile.
To boost richness further, consider adding a splash of Worcestershire sauce or soy sauce. Both deepen the umami flavor without overpowering the dish. A pinch of garlic powder or onion powder can also amplify the savory notes.
For an extra layer of complexity, sprinkle in a small amount of dried thyme or rosemary. Stir well to combine all the seasonings evenly. Remember, the goal is to enhance, not mask, the natural beef flavor.
Taste frequently as you add seasonings, adjusting until the gravy reaches your desired richness and depth.
Balancing Flavors Carefully
As you stir in the drippings and seasonings, do so gradually and taste as you go. This way, you won’t overpower the gravy’s natural richness and can keep the flavor balanced.
Adjust the seasonings carefully, tasting after each addition. Remember, flavors can get stronger as the gravy simmers, so take your time.
Use the table below as a guide for seasoning adjustments:
| Ingredient | How to Adjust |
|---|---|
| Salt | Add in small increments, taste, then decide |
| Pepper | Start with a pinch, then add more if needed |
| Herbs & Spices | Use sparingly; too much can overpower the gravy |
Balancing flavors takes patience, but it’s what makes a delicious, well-rounded gravy.
Incorporating Drippings Effectively
Incorporating drippings effectively is key to building rich, flavorful gravy. Once you’ve taken the pan off the heat, stir in the beef drippings, making sure to scrape up any browned bits stuck to the bottom.
These bits are packed with flavor and will deepen your gravy’s taste. Next, add your seasonings like salt, pepper, garlic powder, or herbs gradually, tasting as you go.
This way, you avoid over-seasoning and ensure a balanced flavor. Stir everything together until the drippings melt into the liquid, creating a cohesive, savory base.
Simmer and Stir Until Velvety and Thick
Bring the mixture to a gentle simmer over medium-low heat, stirring often to prevent sticking or lumps. As it heats, the gravy will start to thicken and become velvety and rich.
Keep stirring consistently to make sure the flour or cornstarch stays evenly distributed and doesn’t clump. You’ll notice the mixture gradually thickening and turning glossy.
Stir constantly to keep the mixture smooth and prevent lumps as it thickens and becomes glossy.
Adjust the heat slightly if it begins to boil too vigorously, which can cause uneven thickening. Continue to stir until the gravy reaches your desired consistency—smooth, thick, and velvety.
It should coat the back of a spoon easily. This process usually takes about 5–10 minutes, depending on how thick you want your gravy.
Once it’s the right consistency, remove from heat and get ready for the final tasting and seasoning adjustments.
Taste and Adjust Seasonings for Perfect Flavor
Once your gravy has thickened to your liking, it’s time to taste and adjust the seasonings. Take a small spoonful and evaluate the flavor. You might find it needs more salt, so add a pinch at a time, stirring well after each addition.
If it’s too salty, add a bit of water or beef broth to balance it out. For extra richness, consider a splash of Worcestershire sauce or a dash of black pepper. Sometimes, a touch of garlic powder or onion powder improves the depth.
Always taste after each adjustment to avoid over-seasoning. Remember, the flavors will develop as the gravy sits, so aim for a balanced, savory taste that complements your meal perfectly.
Serve Your Homemade Beef Gravy and Enjoy
Pour your freshly made beef gravy over your favorite dishes like mashed potatoes, roasted meats, or vegetables to instantly boost their flavor. As you do, notice how the rich, savory aroma lifts your meal.
Serve the gravy hot so it seeps into every bite, adding moisture and depth. Use a spoon or gravy boat for a neat presentation. Pair it with hearty classics like roast beef or tender chicken.
Don’t forget to taste again before serving — you might want to add a pinch of salt or pepper. Enjoy the comforting experience of a homemade gravy that perfectly complements your dish.
Savor each bite and appreciate the effort you put into making this flavorful addition from scratch. Your delicious, homemade beef gravy is ready to enjoy!
Frequently Asked Questions
Can I Make Beef Gravy Without Pan Drippings?
Yes, you can make beef gravy without pan drippings. Just combine beef broth or stock with a thickening agent like flour or cornstarch.
Heat the liquid in a saucepan, then whisk in the flour or cornstarch mixed with a little water to prevent lumps. Stir constantly until the gravy thickens to your preferred consistency.
Season with salt, pepper, and other herbs to boost the flavor. It’s a simple way to get flavorful beef gravy even without the pan drippings.
How Long Does Homemade Beef Gravy Typically Last in the Fridge?
Homemade beef gravy usually stays safe and tasty for about 3 to 4 days in your fridge.
To keep it fresh, store it in an airtight container and cool it quickly after dinner. If you’re craving more, you can freeze leftovers for up to 3 months.
Always smell and check your gravy before serving. If it smells sour or has mold, it’s best to toss it and start fresh.
Can I Freeze Beef Gravy for Later Use?
Yes, you can freeze beef gravy for later use. Just let the gravy cool completely before transferring it to airtight containers or freezer bags, leaving some space for expansion.
Make sure to label and date the containers before putting them in the freezer. For the best quality, try to use the frozen gravy within 3 to 4 months.
When you’re ready to use it, thaw the gravy in the refrigerator overnight. Then, reheat it on the stove and enjoy!
What Are Alternative Thickeners if I Don’T Have a Roux?
If you don’t have a roux, you can use cornstarch, flour, or arrowroot as alternative thickeners. Mix one to two teaspoons of cornstarch or arrowroot with a little cold water until smooth, then stir it into your simmering gravy.
Flour can also work—just create a slurry with cold water before adding. These options thicken your gravy quickly and give it a rich, smooth texture without needing a roux.
How Do I Prevent Beef Gravy From Becoming Too Greasy?
To prevent your beef gravy from becoming too greasy, start by skimming off excess fat from the drippings before adding other ingredients. Use a fat separator or spoon off the top layer if needed.
Incorporating a thickening agent like cornstarch or flour can help absorb some of the fat. Cooking the gravy over medium heat and stirring frequently also helps distribute the fat evenly.
This reduces greasiness and gives you a smoother, richer gravy.
Conclusion
Now that you’ve uncovered the secret to silky, flavorful beef gravy, you’re ready to elevate your meal.
With just a few simple steps, you can turn humble beef drippings into a delicious, rich gravy. It’s easier than you might think!
Remember, every great cook knows that patience and a good palate are key to perfect gravy. Take your time and taste as you go.
Go ahead—delight your taste buds and impress your guests with this homemade beef gravy. It’s the perfect finishing touch.
Your kitchen masterpiece is just a few steps away. Enjoy every flavorful spoonful of your beef gravy made from drippings!