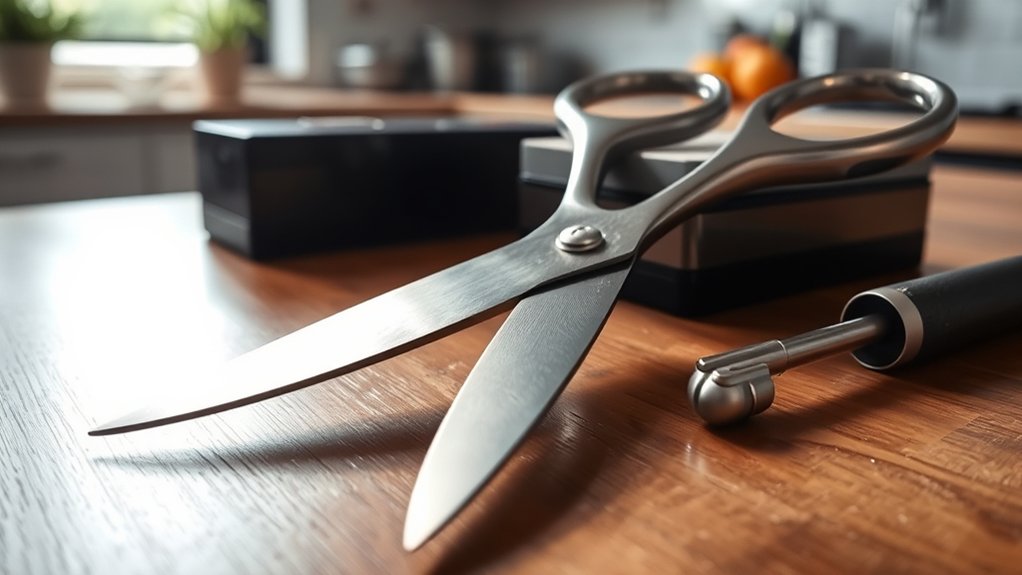
Mastering Kitchen Shears – Step-by-Step Sharpening Guide
If you’ve ever struggled with dull kitchen shears that just won’t cut through anything smoothly, you’re not alone. Many home cooks find sharpening their kitchen shears to be a tricky task, but don’t worry—you can master it with a little know-how.
To master sharpening kitchen shears, start by cleaning and drying them thoroughly.
Then choose a suitable method like using a sharpening stone, file, or professional service. Carefully sharpen both blades with light, consistent strokes, ensuring they stay aligned.
Test their sharpness by cutting paper or plastic, and make adjustments as needed.
Regular maintenance will keep your shears in top shape. Keep going to uncover more expert tips for safe, effective sharpening.
Key Takeaways
- Look for signs that your kitchen shears are dull, like struggling to cut through stuff or uneven edges. These clues tell you it’s time to sharpen them.
- Grab the right tools, such as sharpening stones or files, and make sure your shears are clean and ready before you start. A clean surface makes all the difference.
- When sharpening, use steady, consistent motions on both blades. This helps create a sharp, even edge that makes cutting easier.
- Always keep safety in mind. Wear gloves, read the instructions if you’re new to sharpening, and keep your hands clear of the blades during the process.
- After sharpening, test the shears by cutting through paper or plastic. It’s a quick way to see if they’re sharp enough.
- To keep your shears in top shape, clean and oil them regularly. Proper maintenance ensures they stay sharp and work smoothly for a long time.
Why Dull Kitchen Shears Make Cooking More Difficult
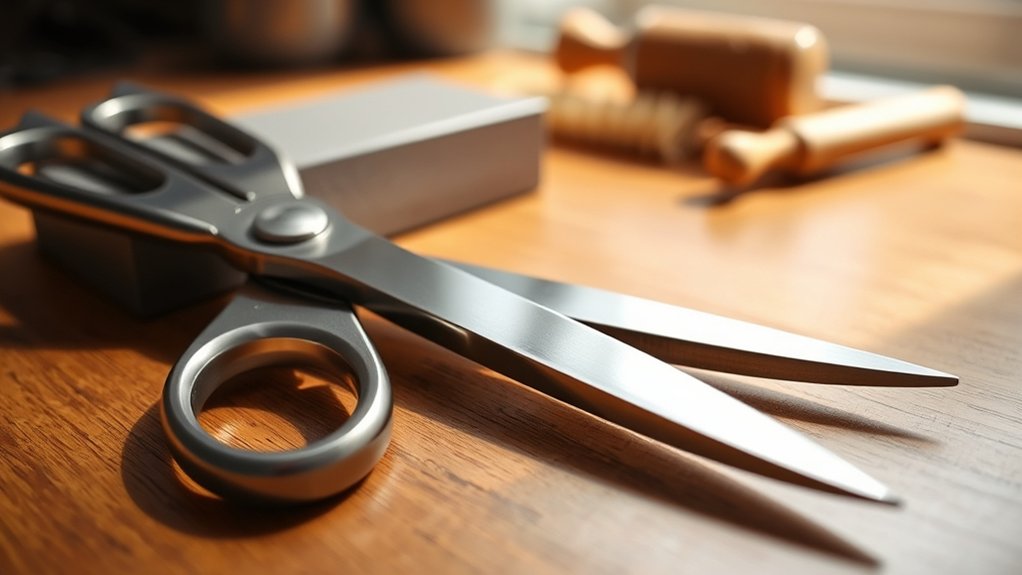
Dull kitchen shears can turn simple tasks into frustrating experiences because they require more force and effort to cut through ingredients. When your shears are dull, you’ll find yourself squeezing harder, which strains your hand and arm.
This increased effort slows down your prep work, making tasks like snipping herbs, trimming meat, or opening packaging more tedious. Plus, applying excessive pressure can lead to uneven cuts, damaging delicate ingredients or tearing packaging instead of cleanly slicing.
Dull shears also increase the risk of slipping, which could cause injuries or messes. Ultimately, dull blades hinder efficiency and make cooking less enjoyable. Keeping your shears sharp guarantees smoother cuts, reduces effort, and makes the entire process safer and more precise.
Signs Your Kitchen Shears Need Sharpening
Knowing when your kitchen shears need sharpening can save you time and effort during meal prep. If they start struggling to cut through ingredients, that’s a clear sign they’re dull.
You might notice a tugging or tearing instead of a clean cut, which means the blades aren’t sharp anymore. When cutting paper or soft plastics, if the blades slide or slip, it’s definitely time for a sharpening.
Tugging or slipping when cutting indicates your kitchen shears need sharpening.
If you need to use more force than usual or see jagged edges, your shears are dull and need attention. A dull pair can also cause uneven cuts, making your food look less appealing.
Paying attention to these signs helps keep your shears performing well and ensures your kitchen tools stay effective.
Tools and Materials You’ll Need to Sharpen Shears
To effectively sharpen your kitchen shears, you’ll need a few essential tools and materials. First, grab a sharpening stone or a dedicated sharpening file designed for scissors. You’ll also want a cloth or towel to hold the shears steady and keep the blades clean.
A fine-grit sandpaper can help smooth out any rough edges. Finally, having a pair of protective gloves is a good idea to prevent injuries during the process.
Here’s what you’ll need:
- Sharpening stone or file
- Cloth or towel
- Fine-grit sandpaper
- Protective gloves
These tools will help you sharpen your shears accurately and safely, giving you professional results right at home.
How to Prepare Your Kitchen Shears for Sharpening
Before sharpening, make sure your shears are clean to remove any dirt or residue.
If possible, take them apart to access all the cutting edges more easily.
Proper prep ensures the sharpening process is both effective and safe.
Clean Shears Thoroughly
Cleaning your kitchen shears thoroughly is an essential first step to confirm they’re ready for sharpening. Start by wiping away any debris, sticky residues, or food particles.
Use warm water and dish soap to loosen grime and grease. Pay special attention to the joint and blades, making sure no buildup remains. For stubborn spots, scrub gently with a soft brush or toothbrush.
Dry the shears completely with a clean towel to prevent rust. Consider using rubbing alcohol or a vinegar solution to disinfect and remove residual oils. This step ensures a clean surface, so the sharpening process is effective.
- Remove food and dirt with warm water and soap
- Use a soft brush for tight spots
- Dry thoroughly to prevent rust
- Disinfect with alcohol or vinegar
Disassemble if Needed
Disassembling your kitchen shears can make sharpening more effective because it gives you access to all the blades and joints. First, check if your shears have removable screws or bolts—most do.
Use a screwdriver to carefully take apart the handles or blades if possible. This step lets you clean out any debris and inspect for damage or dullness more thoroughly.
Make sure to keep track of all parts and remember how they fit together. If your shears aren’t designed to disassemble easily, don’t force it. Just focus on cleaning and sharpening what’s accessible.
Disassembling helps ensure a more precise sharpening process and can extend your shears’ lifespan. When you’re ready to reassemble, double-check that all screws and joints are tight and secure.
Choosing the Best Sharpening Method for Your Shears
When choosing a sharpening method for your kitchen shears, you need to decide between manual or electric tools. Both options can work well, but it depends on your comfort level and how often you sharpen your shears.
You might also want to think about whether a professional service or an at-home technique is the better fit for you. Each has its perks, so understanding these differences will help you pick the best option.
Knowing what’s involved with each method makes it easier to make the right choice for your shears and your needs.
Manual vs. Electric Sharpeners
Are manual and electric sharpeners equally good for keeping your kitchen shears sharp? It really depends on what you need. Manual sharpeners are affordable, portable, and give you control over the angle, but they do require some skill to use properly.
Electric sharpeners are quick and consistent, making them great for frequent use. However, they can be more expensive and might not be as precise for delicate blades.
Consider these points:
- Manual sharpeners give you more control but need careful handling.
- Electric sharpeners save time with automatic grinding.
- Manual tools are portable and don’t need power.
- Electric options are better for regular, fast sharpening.
Your choice depends on your comfort level, budget, and how often you sharpen your shears. Both can deliver sharp results if you use them correctly.
Professional vs. At-Home Techniques
Choosing the right sharpening method depends on your needs and skill level. Professional techniques like using a sharpening stone or sending your shears to a specialist give precise results but need experience and proper tools.
If you’re comfortable with manual tools, a sharpening stone lets you control the process in detail, helping your shears stay sharp longer. But it takes practice to avoid damaging the blades.
At-home methods, such as specialty sharpeners or honing rods, are easier to use and more convenient. They’re great for quick touch-ups, especially if you don’t sharpen often or lack experience.
Ultimately, if your shears are heavily dull or damaged, professional sharpening is the safer choice. For regular maintenance, at-home methods can keep your shears in good shape with little effort.
Sharpening Kitchen Shears With a File
If your kitchen shears have become dull, using a file can be an effective way to restore their sharpness. To get started, secure the shears in a stable position, preferably with a clamp.
Then, follow these steps: Hold the file at a consistent angle, around 20-30 degrees, matching the blade’s original bevel. Use long, even strokes along the beveled edge, moving from the pivot to the tip.
Apply gentle pressure. Avoid pressing too hard, which can damage the blade. Repeat the process on both blades until they feel sharp.
Remember to periodically check your progress and wipe away metal filings with a clean cloth. This method is simple, effective, and perfect for maintaining your shears between professional sharpenings.
Using a Whetstone for Precise Shear Sharpening
Using a whetstone offers a more precise way to sharpen your kitchen shears, especially when they’re very dull or need detailed edge work. Start by soaking the stone in water for about 10-15 minutes.
Hold the shears at a consistent angle, typically around 20 degrees, and run the blades along the stone’s surface in smooth, even strokes. Apply gentle pressure and work from the pivot point to the tip, keeping the angle steady throughout.
Flip the shears and repeat on the other blade. Use a light, consistent motion to sharpen both sides evenly. Finish by running the blades through a few quick passes on each side to polish the edge.
This method guarantees a sharp, precise cut, restoring your shears’ efficiency.
How to Safely Use a Manual or Electric Sharpener
When you’re ready to sharpen your shears with a manual or electric sharpener, safety should be your top priority. First, read the manufacturer’s instructions carefully so you understand how to use the device properly. Always wear safety glasses to protect your eyes from sparks or debris.
Keep your hands away from the sharpening surfaces and hold the shears securely. Before starting, clean your shears to remove dirt or debris that might cause slipping. Use a stable surface and make sure the sharpener is on a flat, non-slip area.
Remember to unplug electric sharpeners before use. Avoid wearing loose clothing or jewelry that could get caught. Keep your fingers clear of the sharpening path and maintain a steady grip on the shears during sharpening.
Following these steps helps minimize risks and ensures your shears are sharpened effectively.
Testing Your Kitchen Shears’ Sharpness After Sharpening
After sharpening your kitchen shears, it’s important to test how well they cut to make sure they’re working properly. Grab a piece of paper, cardboard, or thin fabric to check their sharpness.
If they cut smoothly without tearing or snagging, you’re all set. Think of the test like this:
| Material | Result |
|---|---|
| Paper | Clean, straight cut |
| Thin Plastic | Effortless slice, no crushing or jagged edges |
| Cardboard | Precise cut, minimal resistance |
| Fabric | Smooth cut, no fraying or tearing |
If any material tears or resists, it’s a good idea to sharpen again. Proper testing helps ensure your shears are ready for clean, precise cuts every time.
Tips to Maintain Sharpness and Extend Shear Life
To keep your kitchen shears sharp and extend their lifespan, regular maintenance is key. Proper care prevents dullness and damage, so they perform well every time.
After each use, clean your shears with warm, soapy water and dry them thoroughly to prevent rust. Applying a light coat of oil to the pivot joint and blades regularly helps reduce friction and protects against corrosion.
Store your shears in a dry, safe spot, like a sheath or case, to avoid accidental dulling or damage. Avoid cutting through hard stuff like bones or frozen foods, which can chip or dull the blades quickly.
Following these simple tips keeps your shears sharp, reduces wear, and helps them last longer. That way, they’re always ready for precise cuts when you need them.
Common Mistakes to Avoid When Sharpening Shears
One common mistake is neglecting blade alignment, which can lead to uneven sharpening and poor cuts.
Using the wrong sharpening tools can also damage your shears or make the problem worse.
To get the best results, pay attention to these issues and choose the right tools for your shears.
Overlooking Blade Alignment
Overlooking blade alignment can cause issues when sharpening kitchen shears. Misaligned blades often lead to uneven cuts and can damage the shears over time.
If you ignore this step, you might end up with a dull edge or blades that don’t close properly. To keep your shears in good shape, always check that the blades are perfectly aligned before sharpening.
Start by verifying that the blades meet evenly along their entire length. Make sure the pivot screw isn’t too loose or too tight.
Next, confirm that the blades close smoothly without gaps. Double-check that the cutting edges are parallel to each other.
Taking these precautions helps keep your shears functioning well and prevents unnecessary wear. Proper alignment is a simple but crucial step for effective sharpening and long-lasting shears.
Using Wrong Sharpening Tools
Using the wrong sharpening tools is a common mistake that can seriously damage your kitchen shears. If you pick the wrong tools like dull or incompatible sharpeners, you risk uneven edges or chipping the blades.
Avoid using large, coarse files or generic knife sharpeners designed for other blades. They won’t give you the precision you need. Instead, choose a sharpening stone or a tool made specifically for scissors or shears.
These specialized tools give you better control and a cleaner edge. Using improper tools can also cause misalignment or weaken the blade’s structure over time.
Always make sure your sharpening tool matches the type of blades you have. Picking the right tool ensures a sharp, durable edge without damaging your shears or affecting their performance.
When to Seek Professional Help for Your Kitchen Shears
Sometimes, despite your best efforts, kitchen shears may become hard to cut with or develop persistent rust or damage. When this happens, it’s time to consider professional help. You should seek expert assistance if:
- The blades stay dull even after sharpening attempts
- Rust or corrosion refuse to come off
- The shears have bent or cracked blades
- You notice uneven or jagged cuts
Professional sharpeners use special tools and techniques that you can’t do at home. They can also spot issues like misalignment or hidden damage. Ignoring these problems can put your safety at risk and shorten the shears’ lifespan. If your kitchen shears fit any of these descriptions, it’s best to leave it to the pros for a safe, effective fix.
Frequently Asked Questions
How Often Should I Sharpen My Kitchen Shears?
You should sharpen your kitchen shears every three to six months, depending on how often you use them. If you notice they’re cutting less effectively or leaving jagged edges, it’s time to sharpen.
Regular maintenance keeps them performing well and extends their lifespan. Always clean and dry them after use to prevent rust.
Consider honing them with a sharpening stone for quick touch-ups between formal sharpenings.
Can I Sharpen Serrated Kitchen Shears at Home?
You can sharpen serrated kitchen shears at home, but it’s tricky. Use a small, fine sharpening stone or a ceramic rod, gently working along the serrated edges.
Be cautious not to damage the teeth or change the serration pattern. If you’re unsure or uncomfortable, it’s a good idea to take them to a professional.
Proper care keeps your shears sharp and effective, so they cut smoothly and safely every time.
What Safety Precautions Should I Take During Sharpening?
Did you know that nearly 80% of kitchen accidents happen because of dull blades? When sharpening your kitchen shears, always wear safety gloves to protect your fingers from sharp edges.
Keep your work area clean and well-lit. Use proper tools to avoid slips and accidents. Make sure the shears are secure in a clamp or holder before you start sharpening.
Finally, follow the manufacturer’s instructions carefully. This helps prevent injury and ensures you get the best results.
Is It Better to Sharpen Shears With a Professional or DIY Method?
It’s generally better to have your kitchen shears professionally sharpened for the best results, especially if you’re unsure about your sharpening skills.
Professionals have the right tools and experience to keep the blades precise and avoid damage.
But if you’re confident and careful, doing it yourself can save money.
Just make sure to follow safety procedures and use the correct sharpening tools to avoid accidents.
How Do I Prevent My Shears From Dulling Quickly?
You want to keep your shears sharp, but remember they’re delicate tools that need gentle handling.
To prevent them from dulling quickly, always clean your shears after using them. This helps remove dirt and debris that can cause wear.
Avoid cutting through tough materials that can damage the blades. Use your shears only for their intended purpose.
Store them properly in a sheath or toolbox to protect the blades when not in use.
With mindful care, your shears will stay sharp longer and perform like new.
Conclusion
Now that you’ve mastered sharpening your kitchen shears, you’ll find chopping and snipping easier than slicing through a hot knife. It’s like a chef wielding a well-forged sword in a medieval tapestry.
Keep your shears sharp and well-maintained, and they’ll serve you faithfully for many feasts to come. Regular care is the secret to their longevity.
With a little effort and practice, you can turn everyday cooking into a fine art. No need for Merlin’s magic—just your skill and a bit of elbow grease will do the trick.
Remember, maintaining sharp kitchen shears makes all the difference. They’ll help you achieve perfect cuts every time, making your kitchen tasks smoother and more enjoyable.